Nussknacker / Nutcracker 2020 – Part 8

5th & 6th Grade Nutcracker Art Project

One last Nutcracker project to round out the week before winter break! The pre-k/kindergarten class completed a Nutcracker shape coloring page, 1st & 2nd grade made a giant collaborative Nutcracker mural, and 3rd & 4th grade made cardboard tube nutcrackers.

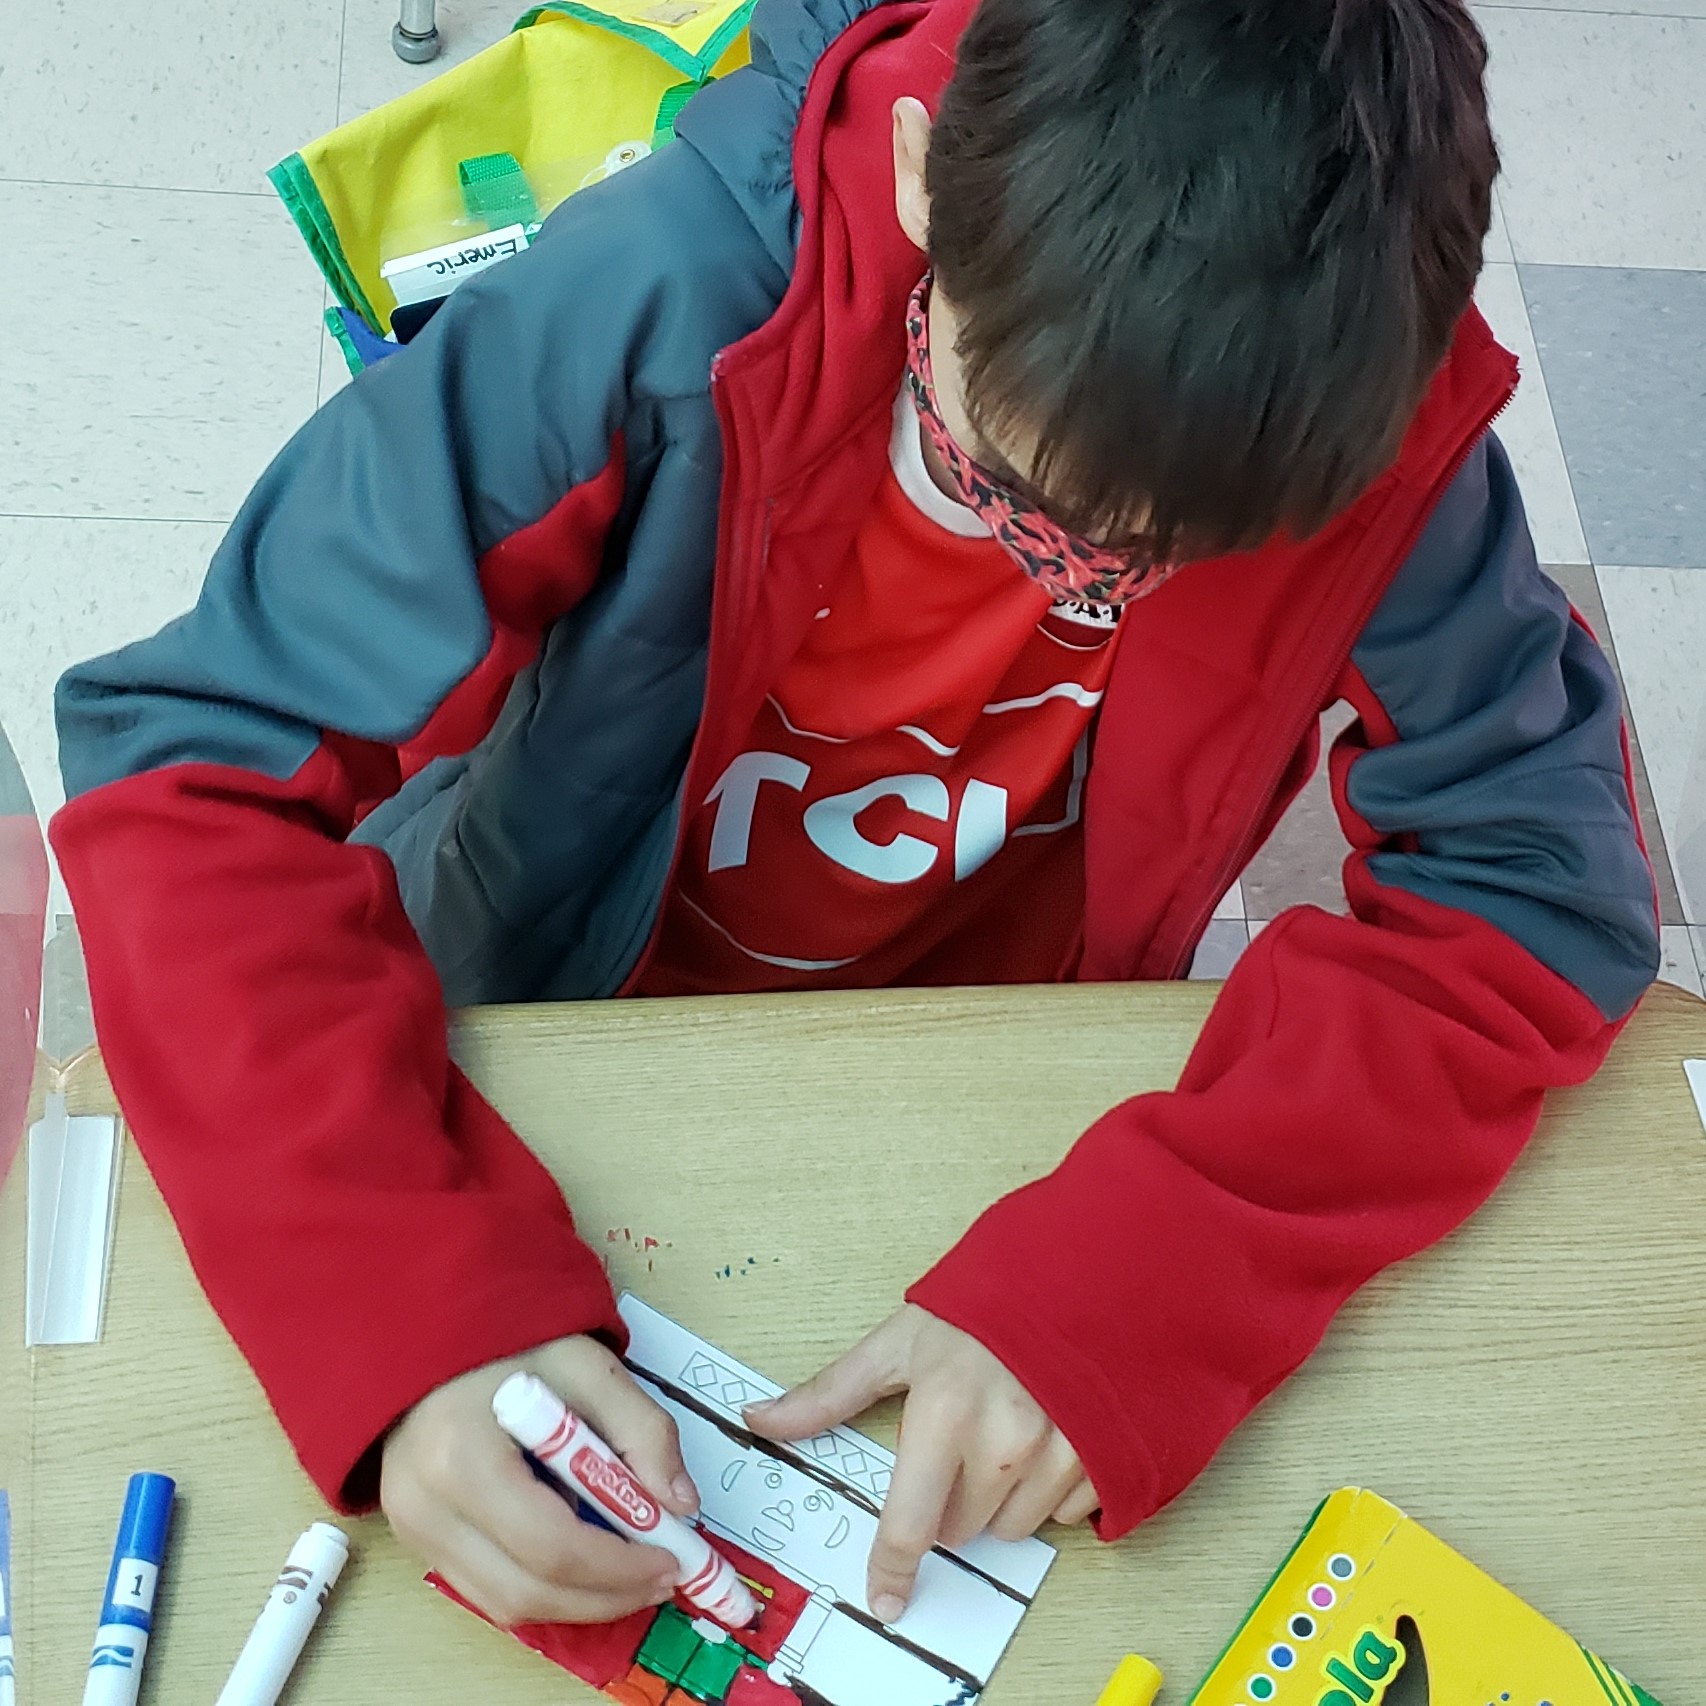
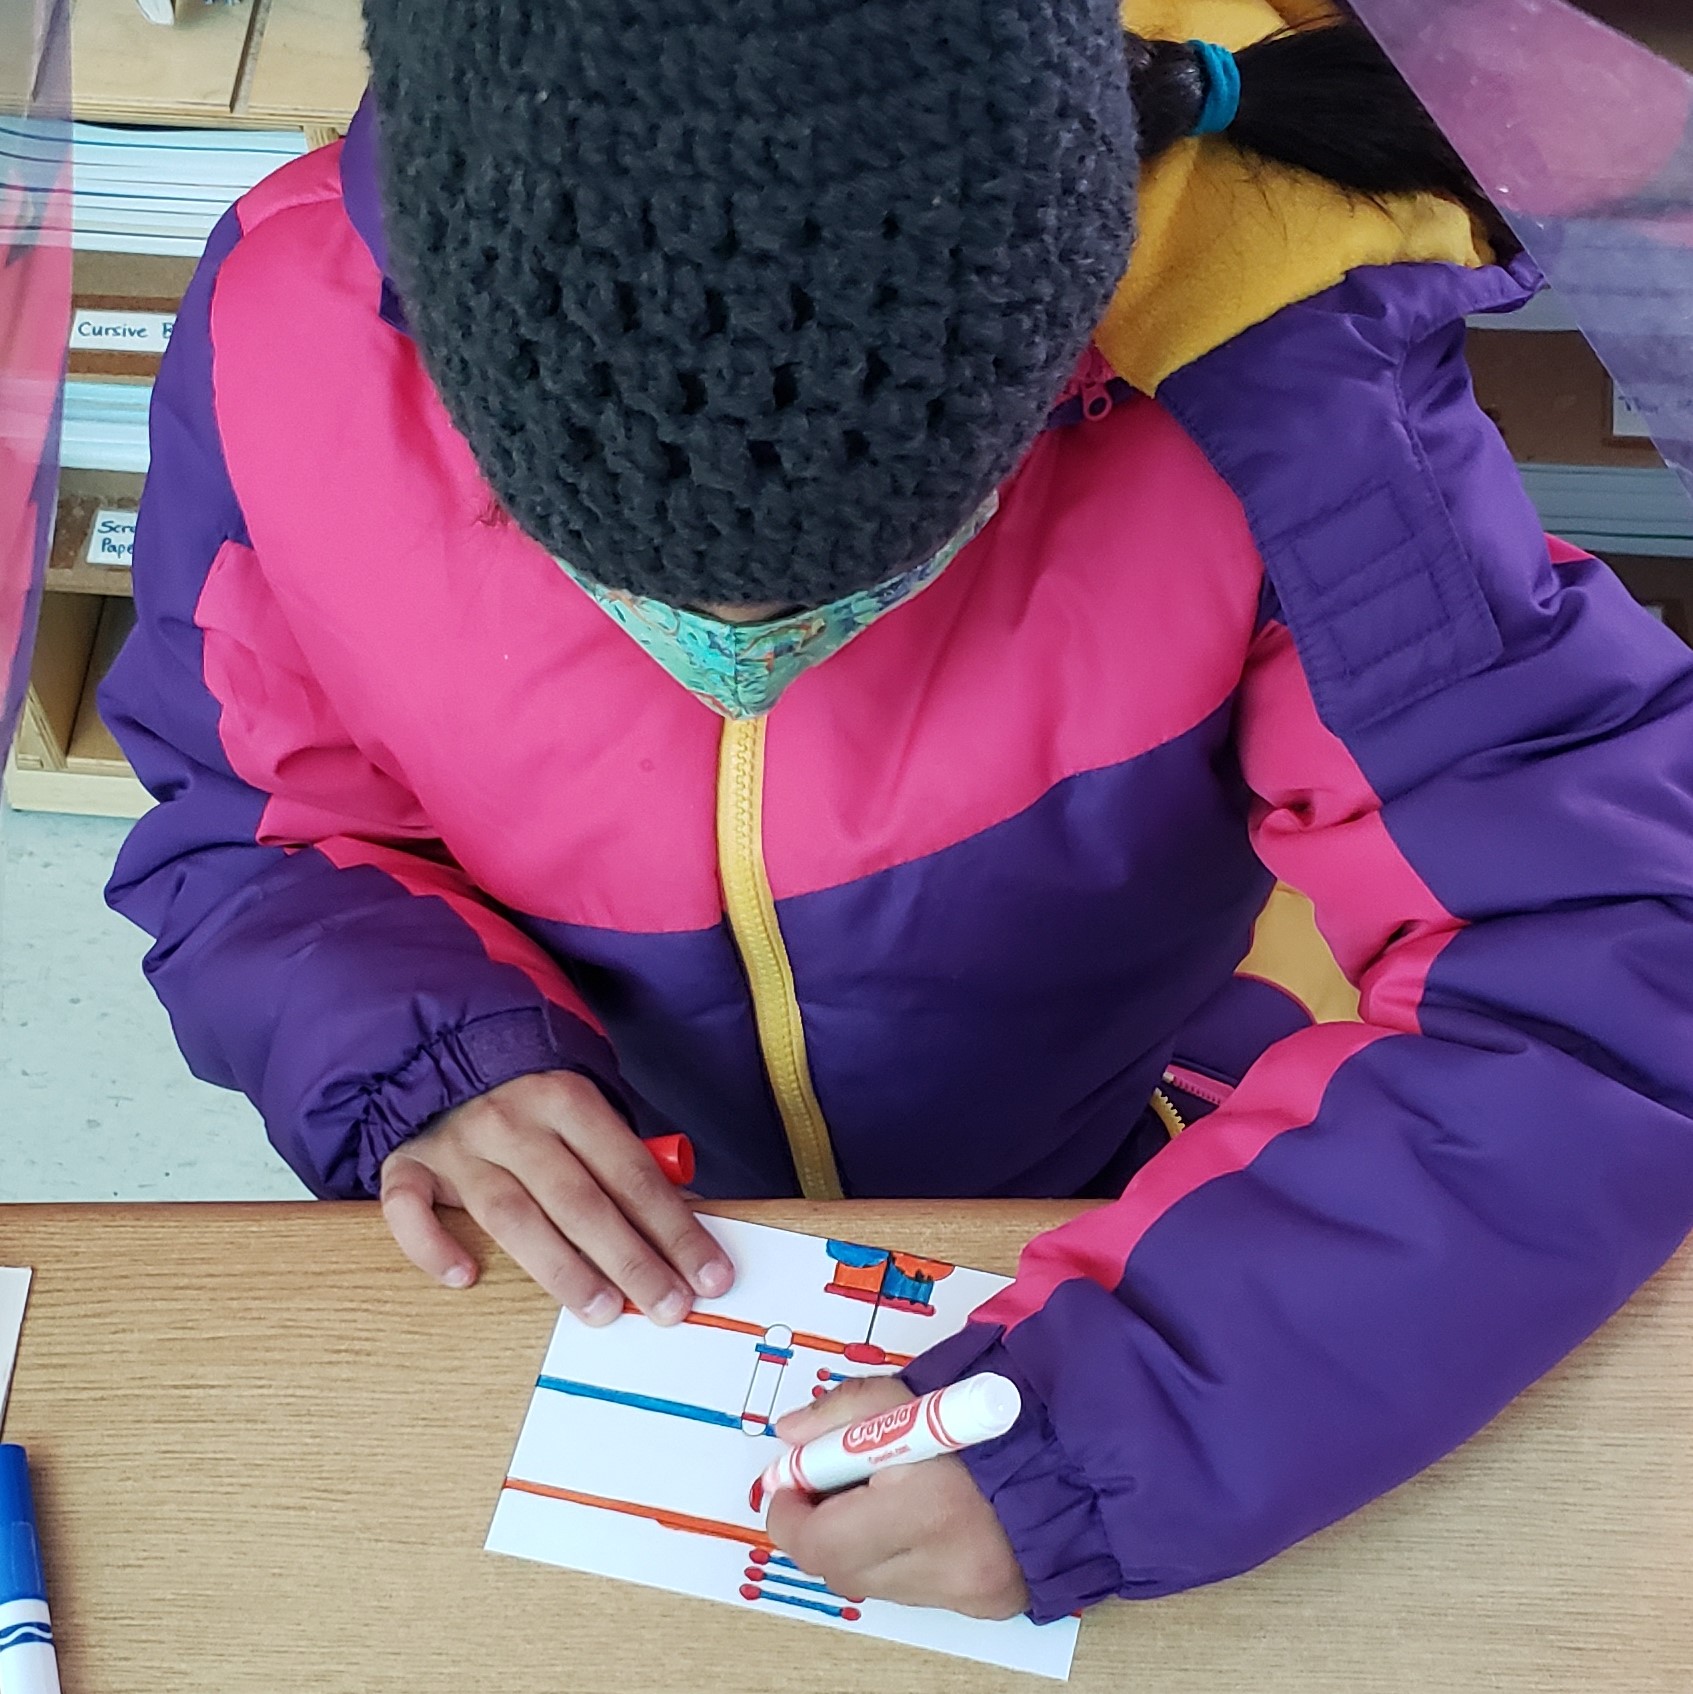
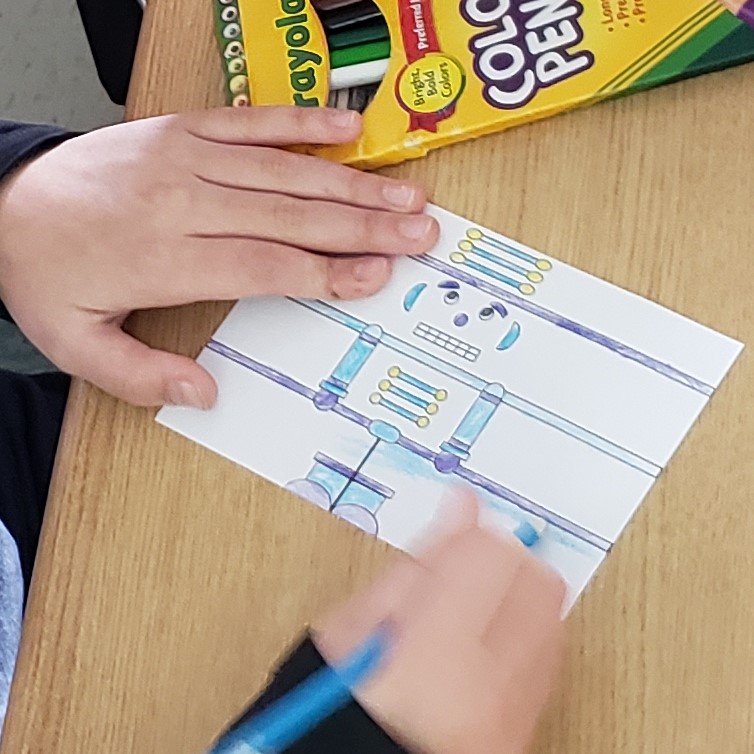
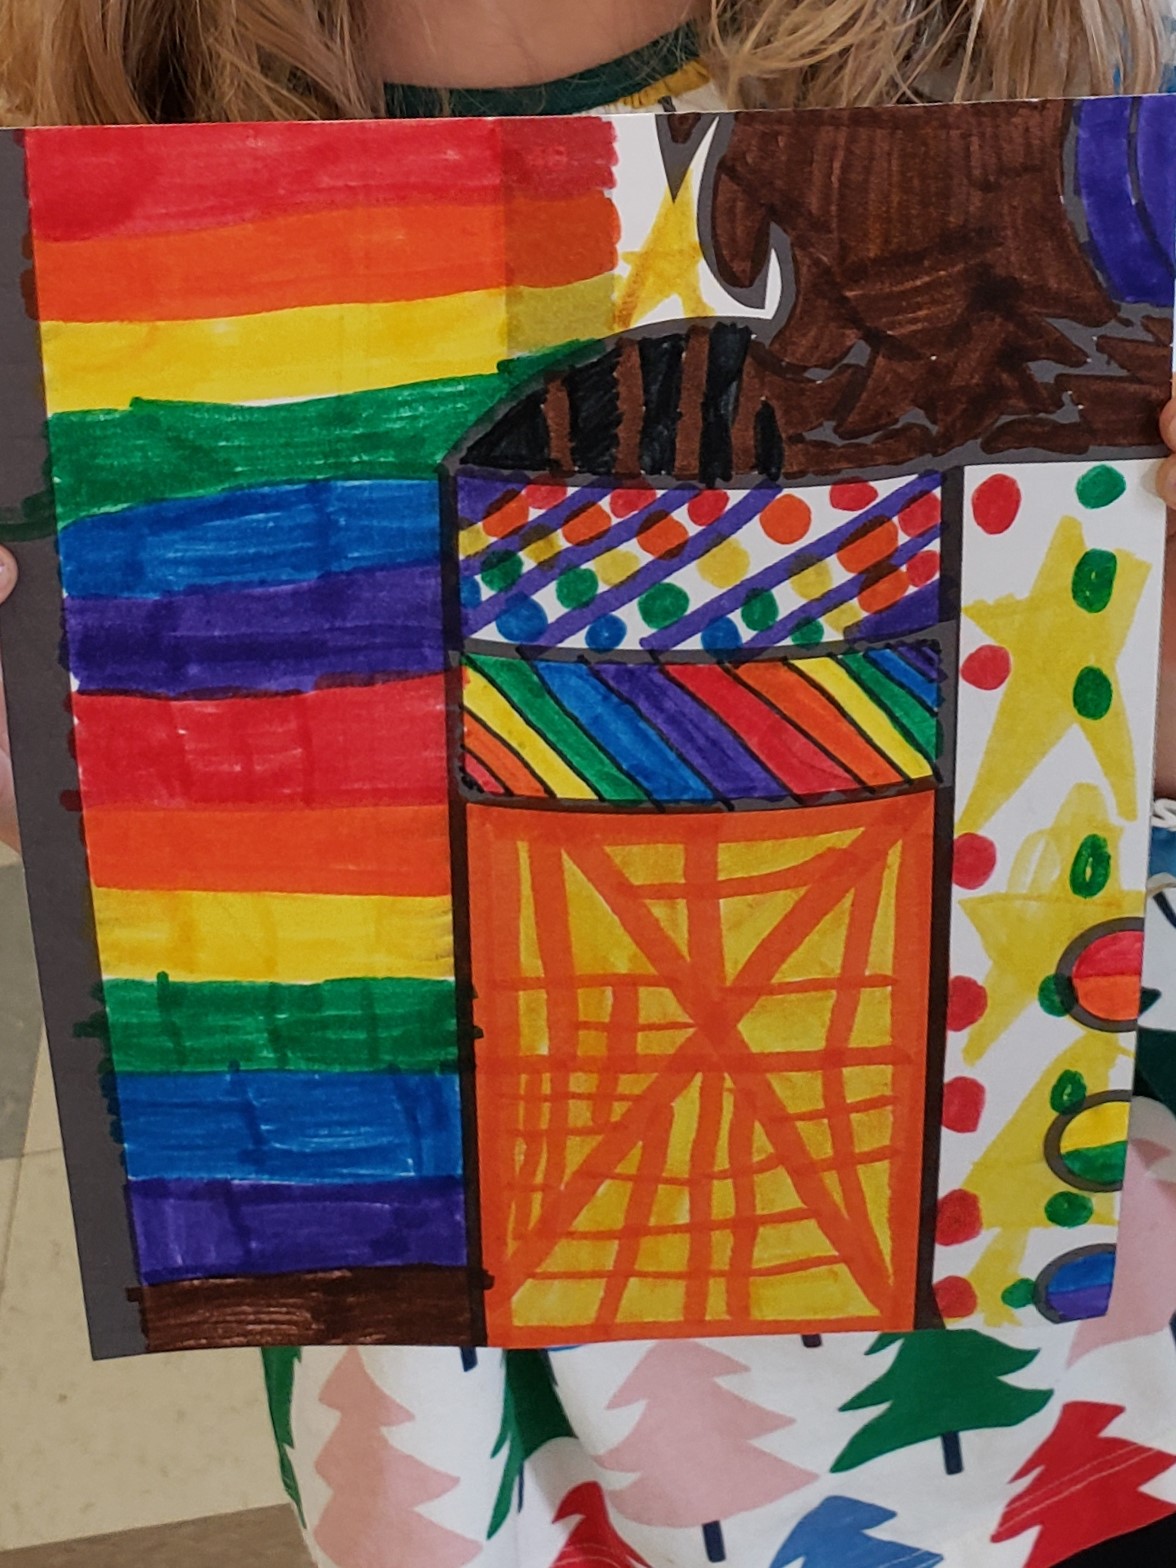
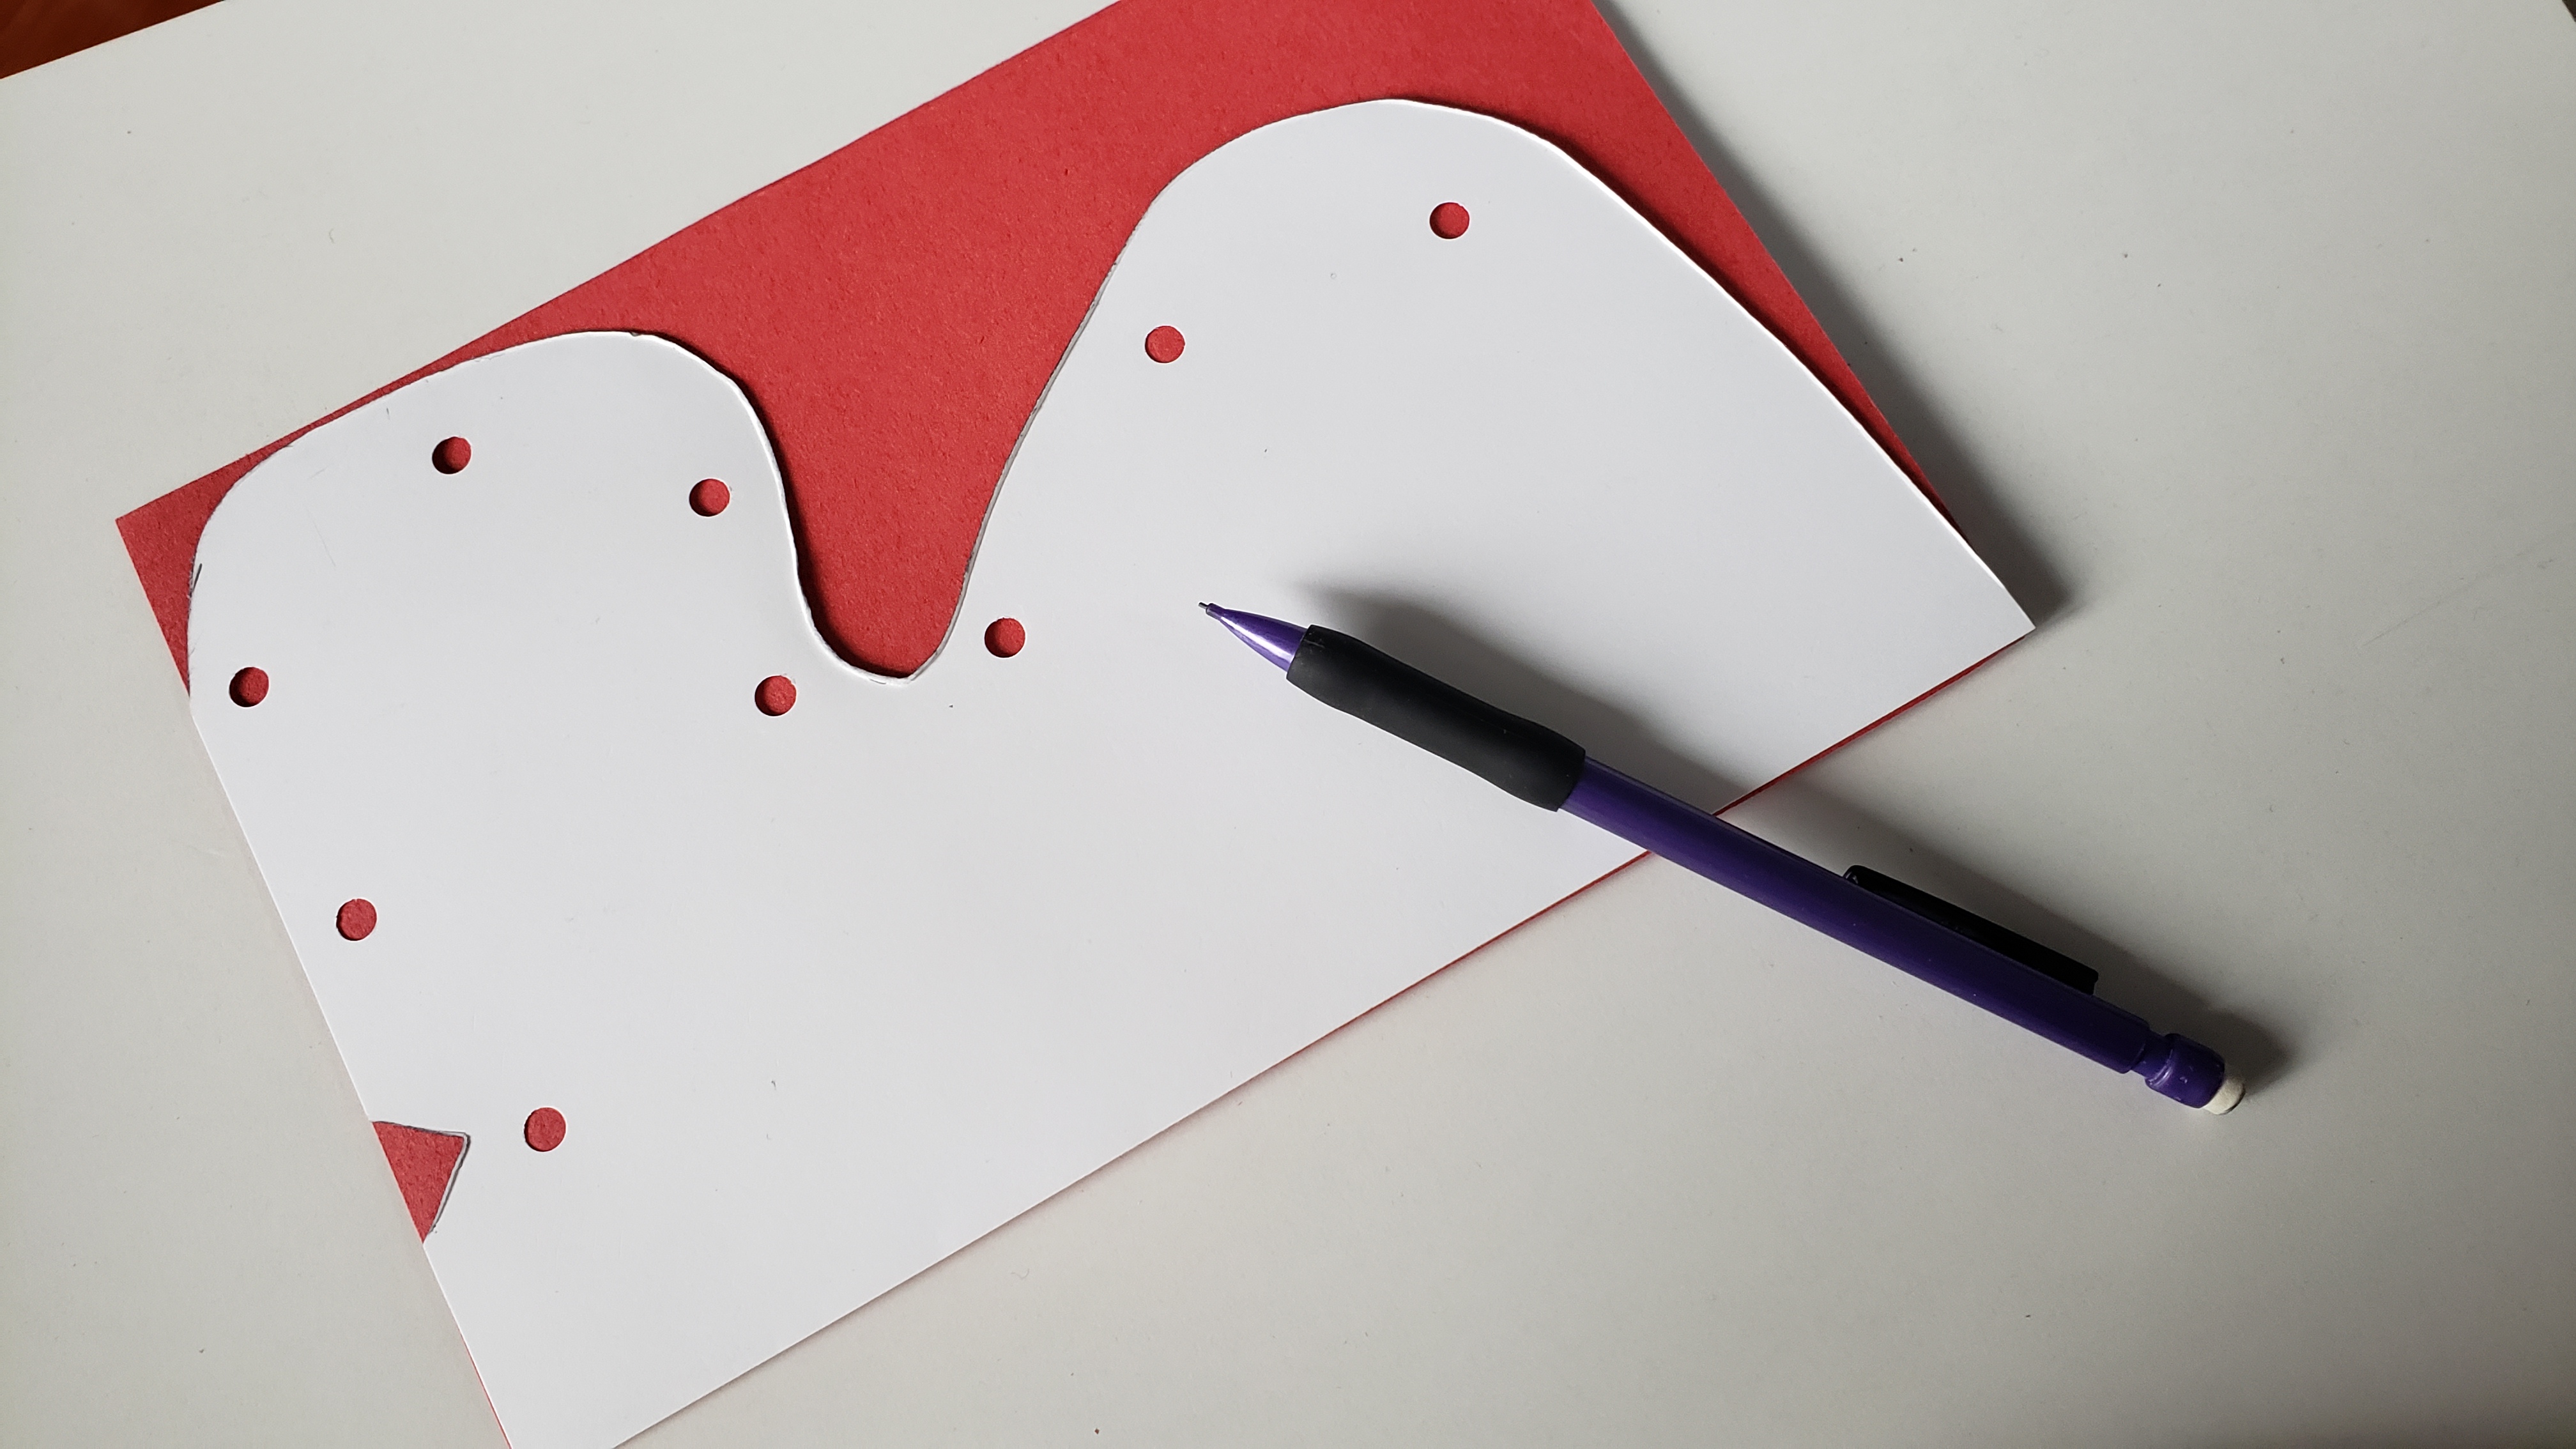
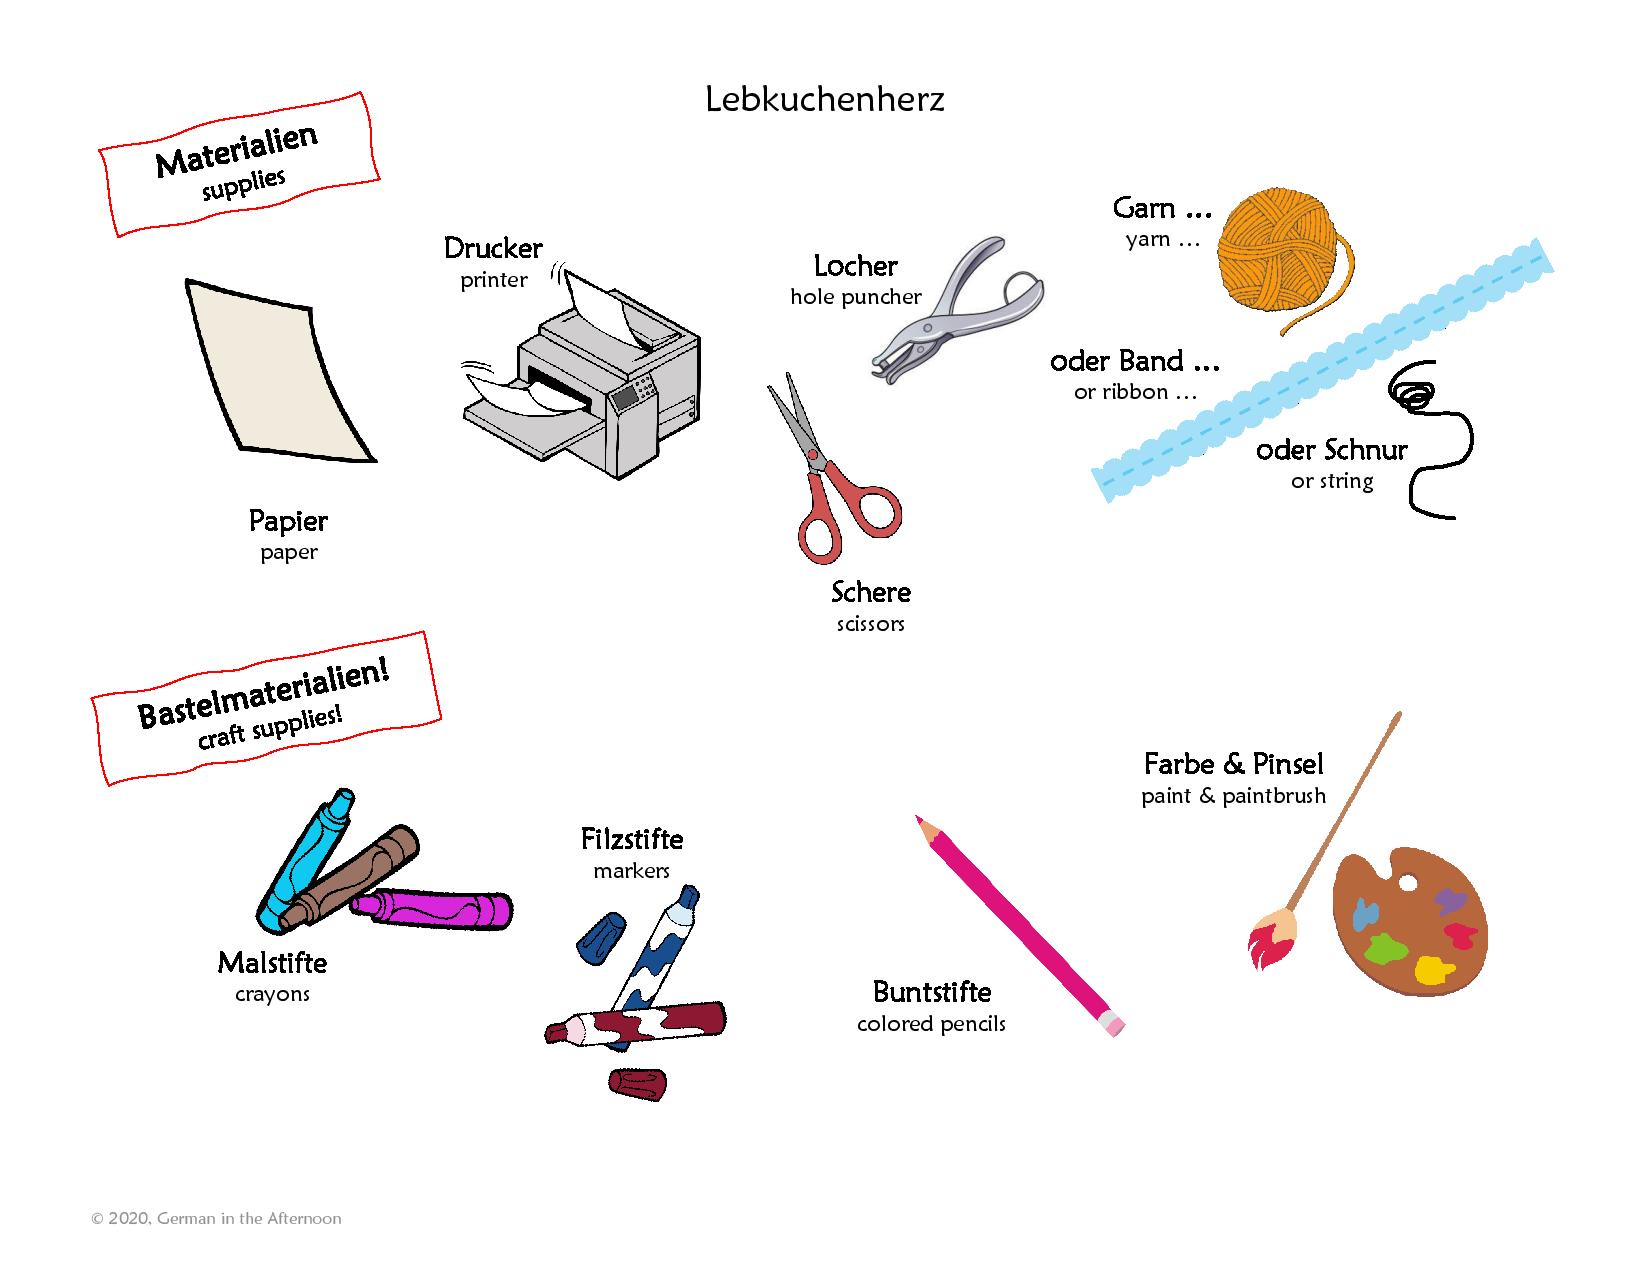
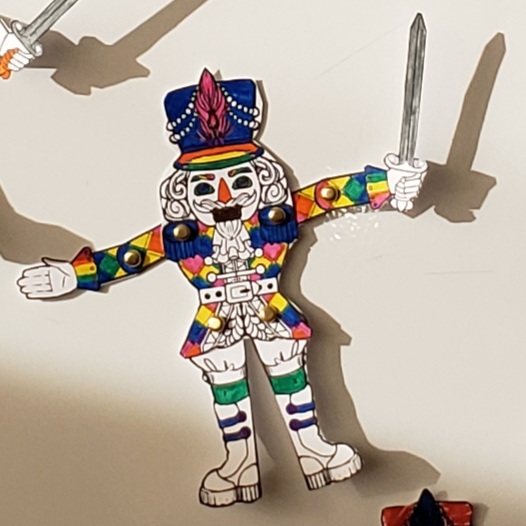
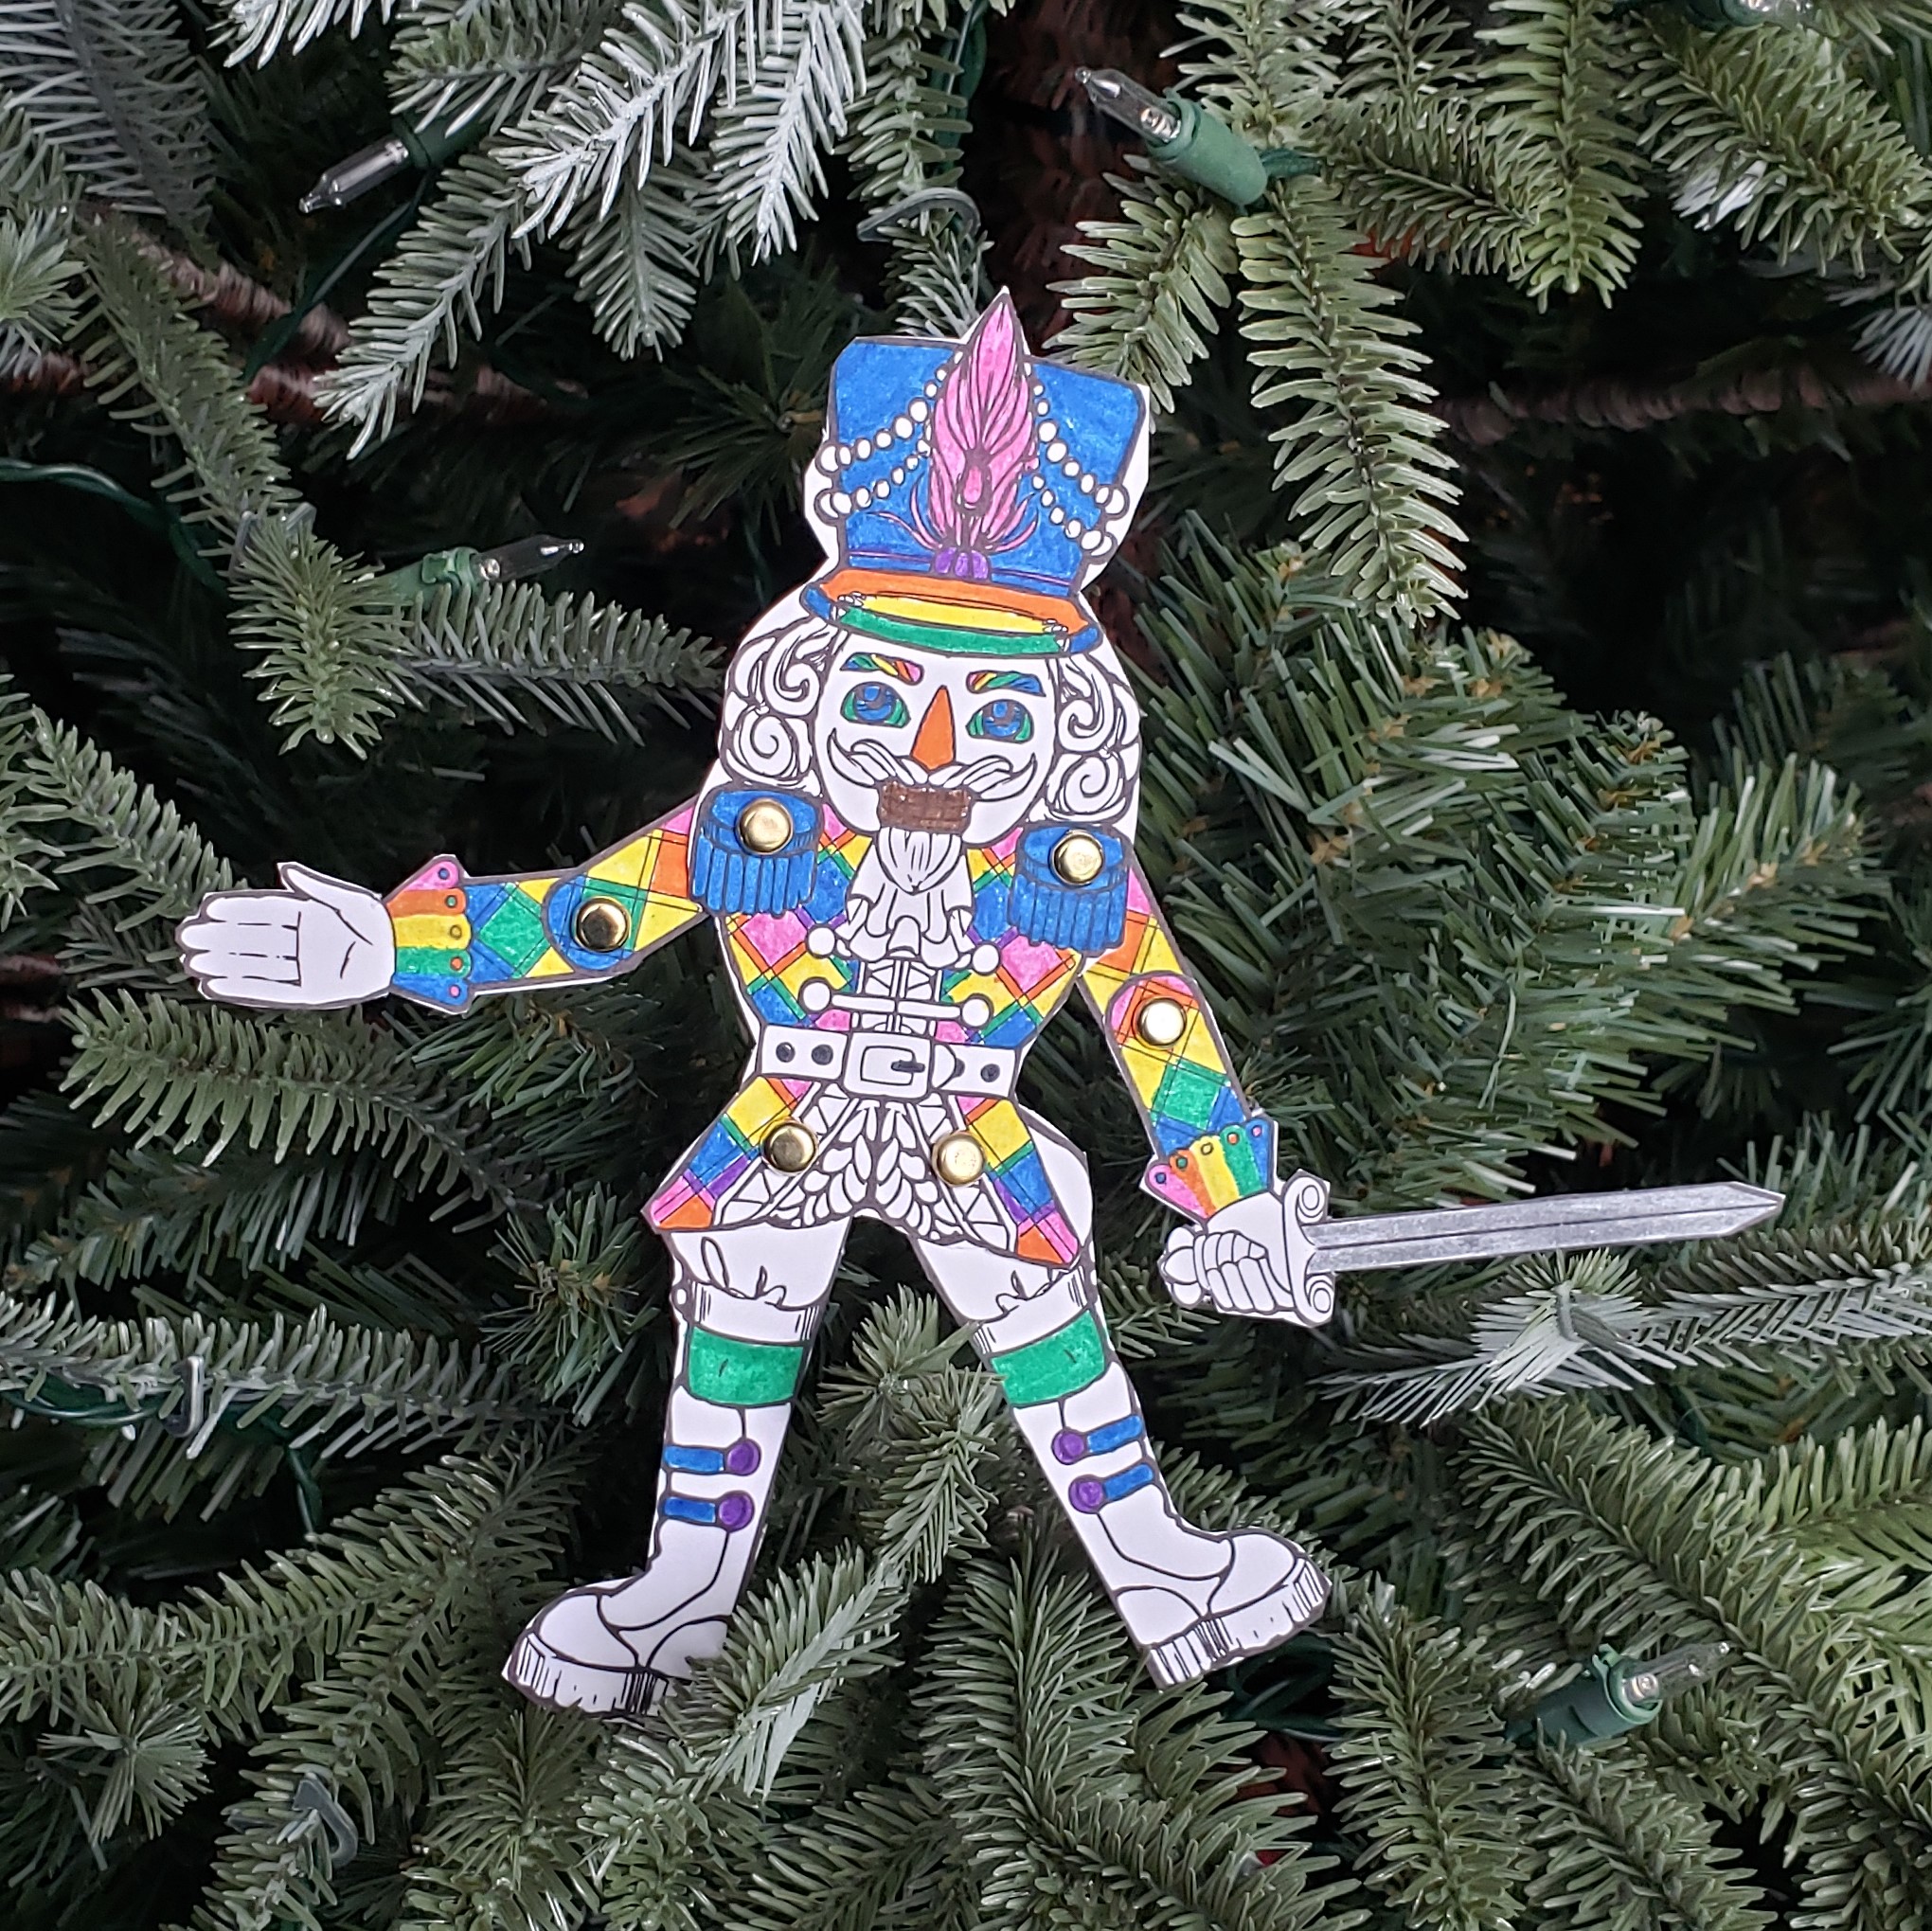
The 5th & 6th graders heard the most detailed version of E.T.A. Hoffmann’s Nutcracker last week. So they were ready to get started on their project. They made a “Hampelmann” – or jumping jack – Nutcracker. I printed the template on cardstock, and then the students colored them in and cut them out. I have a small hole puncher (1/8-inch), so we used that to make the holes. Then they assembled the Hampelmänner with mini gold brads (I bought these on Amazon).

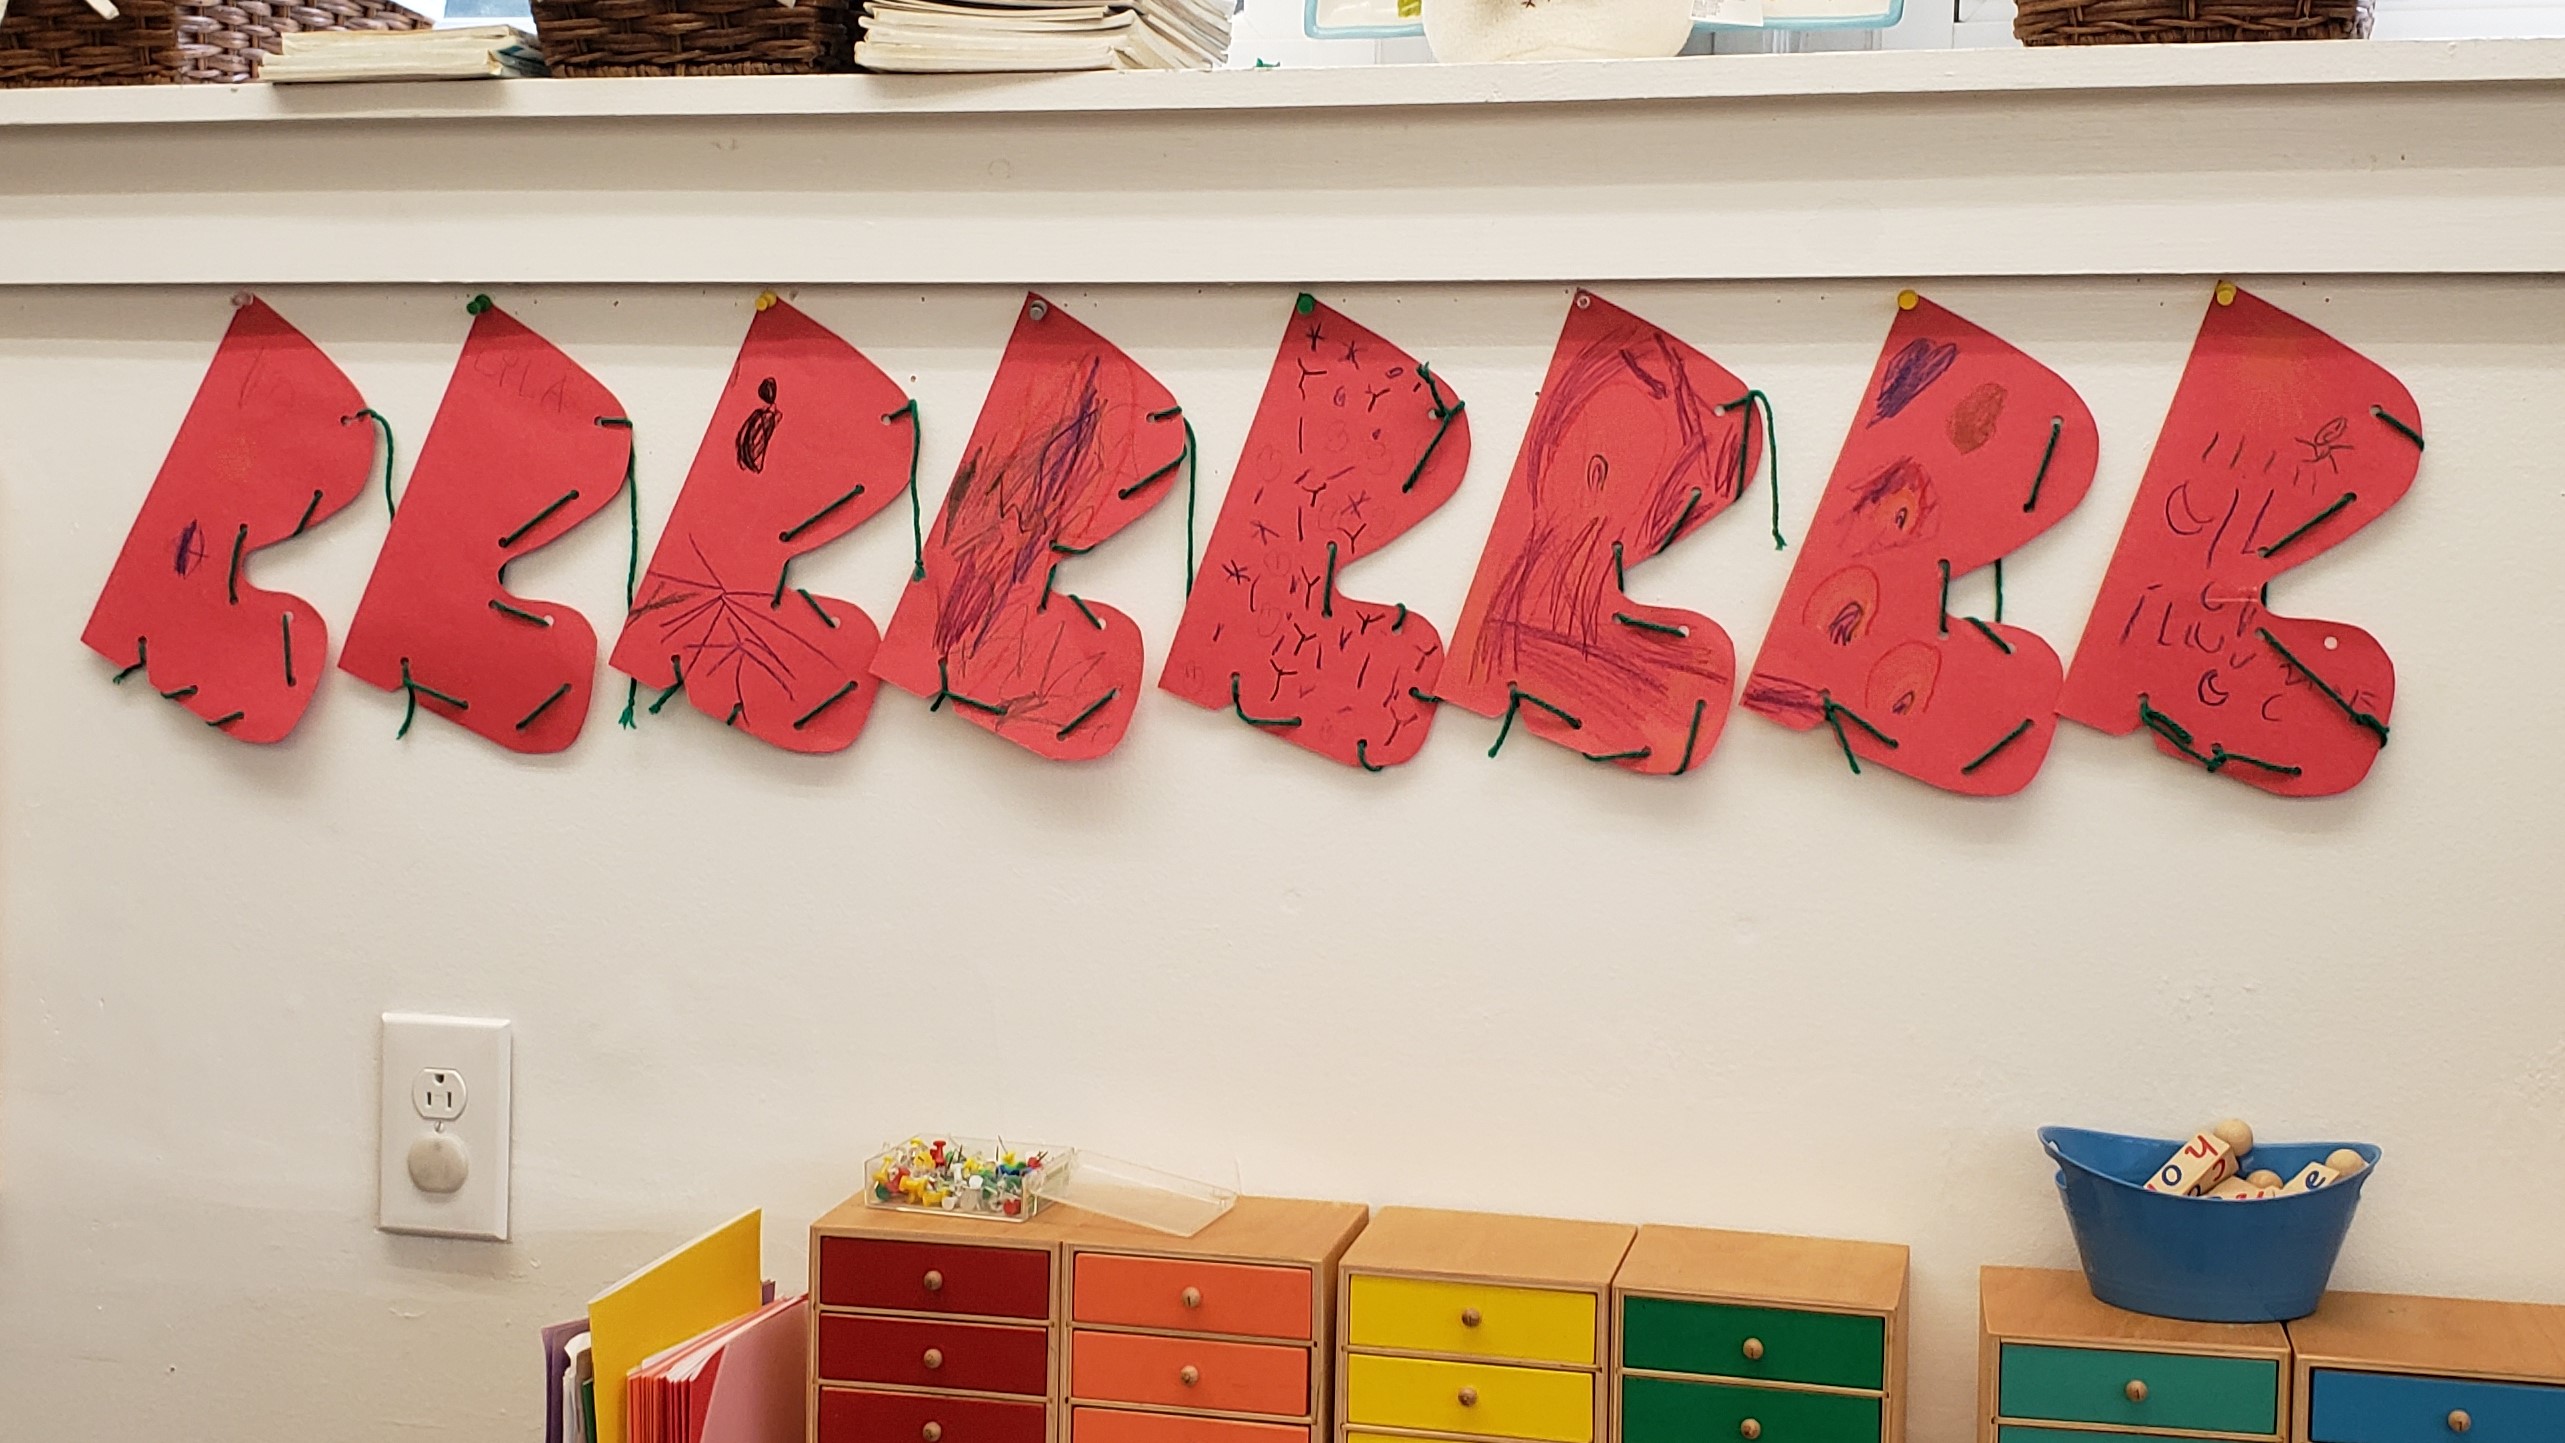
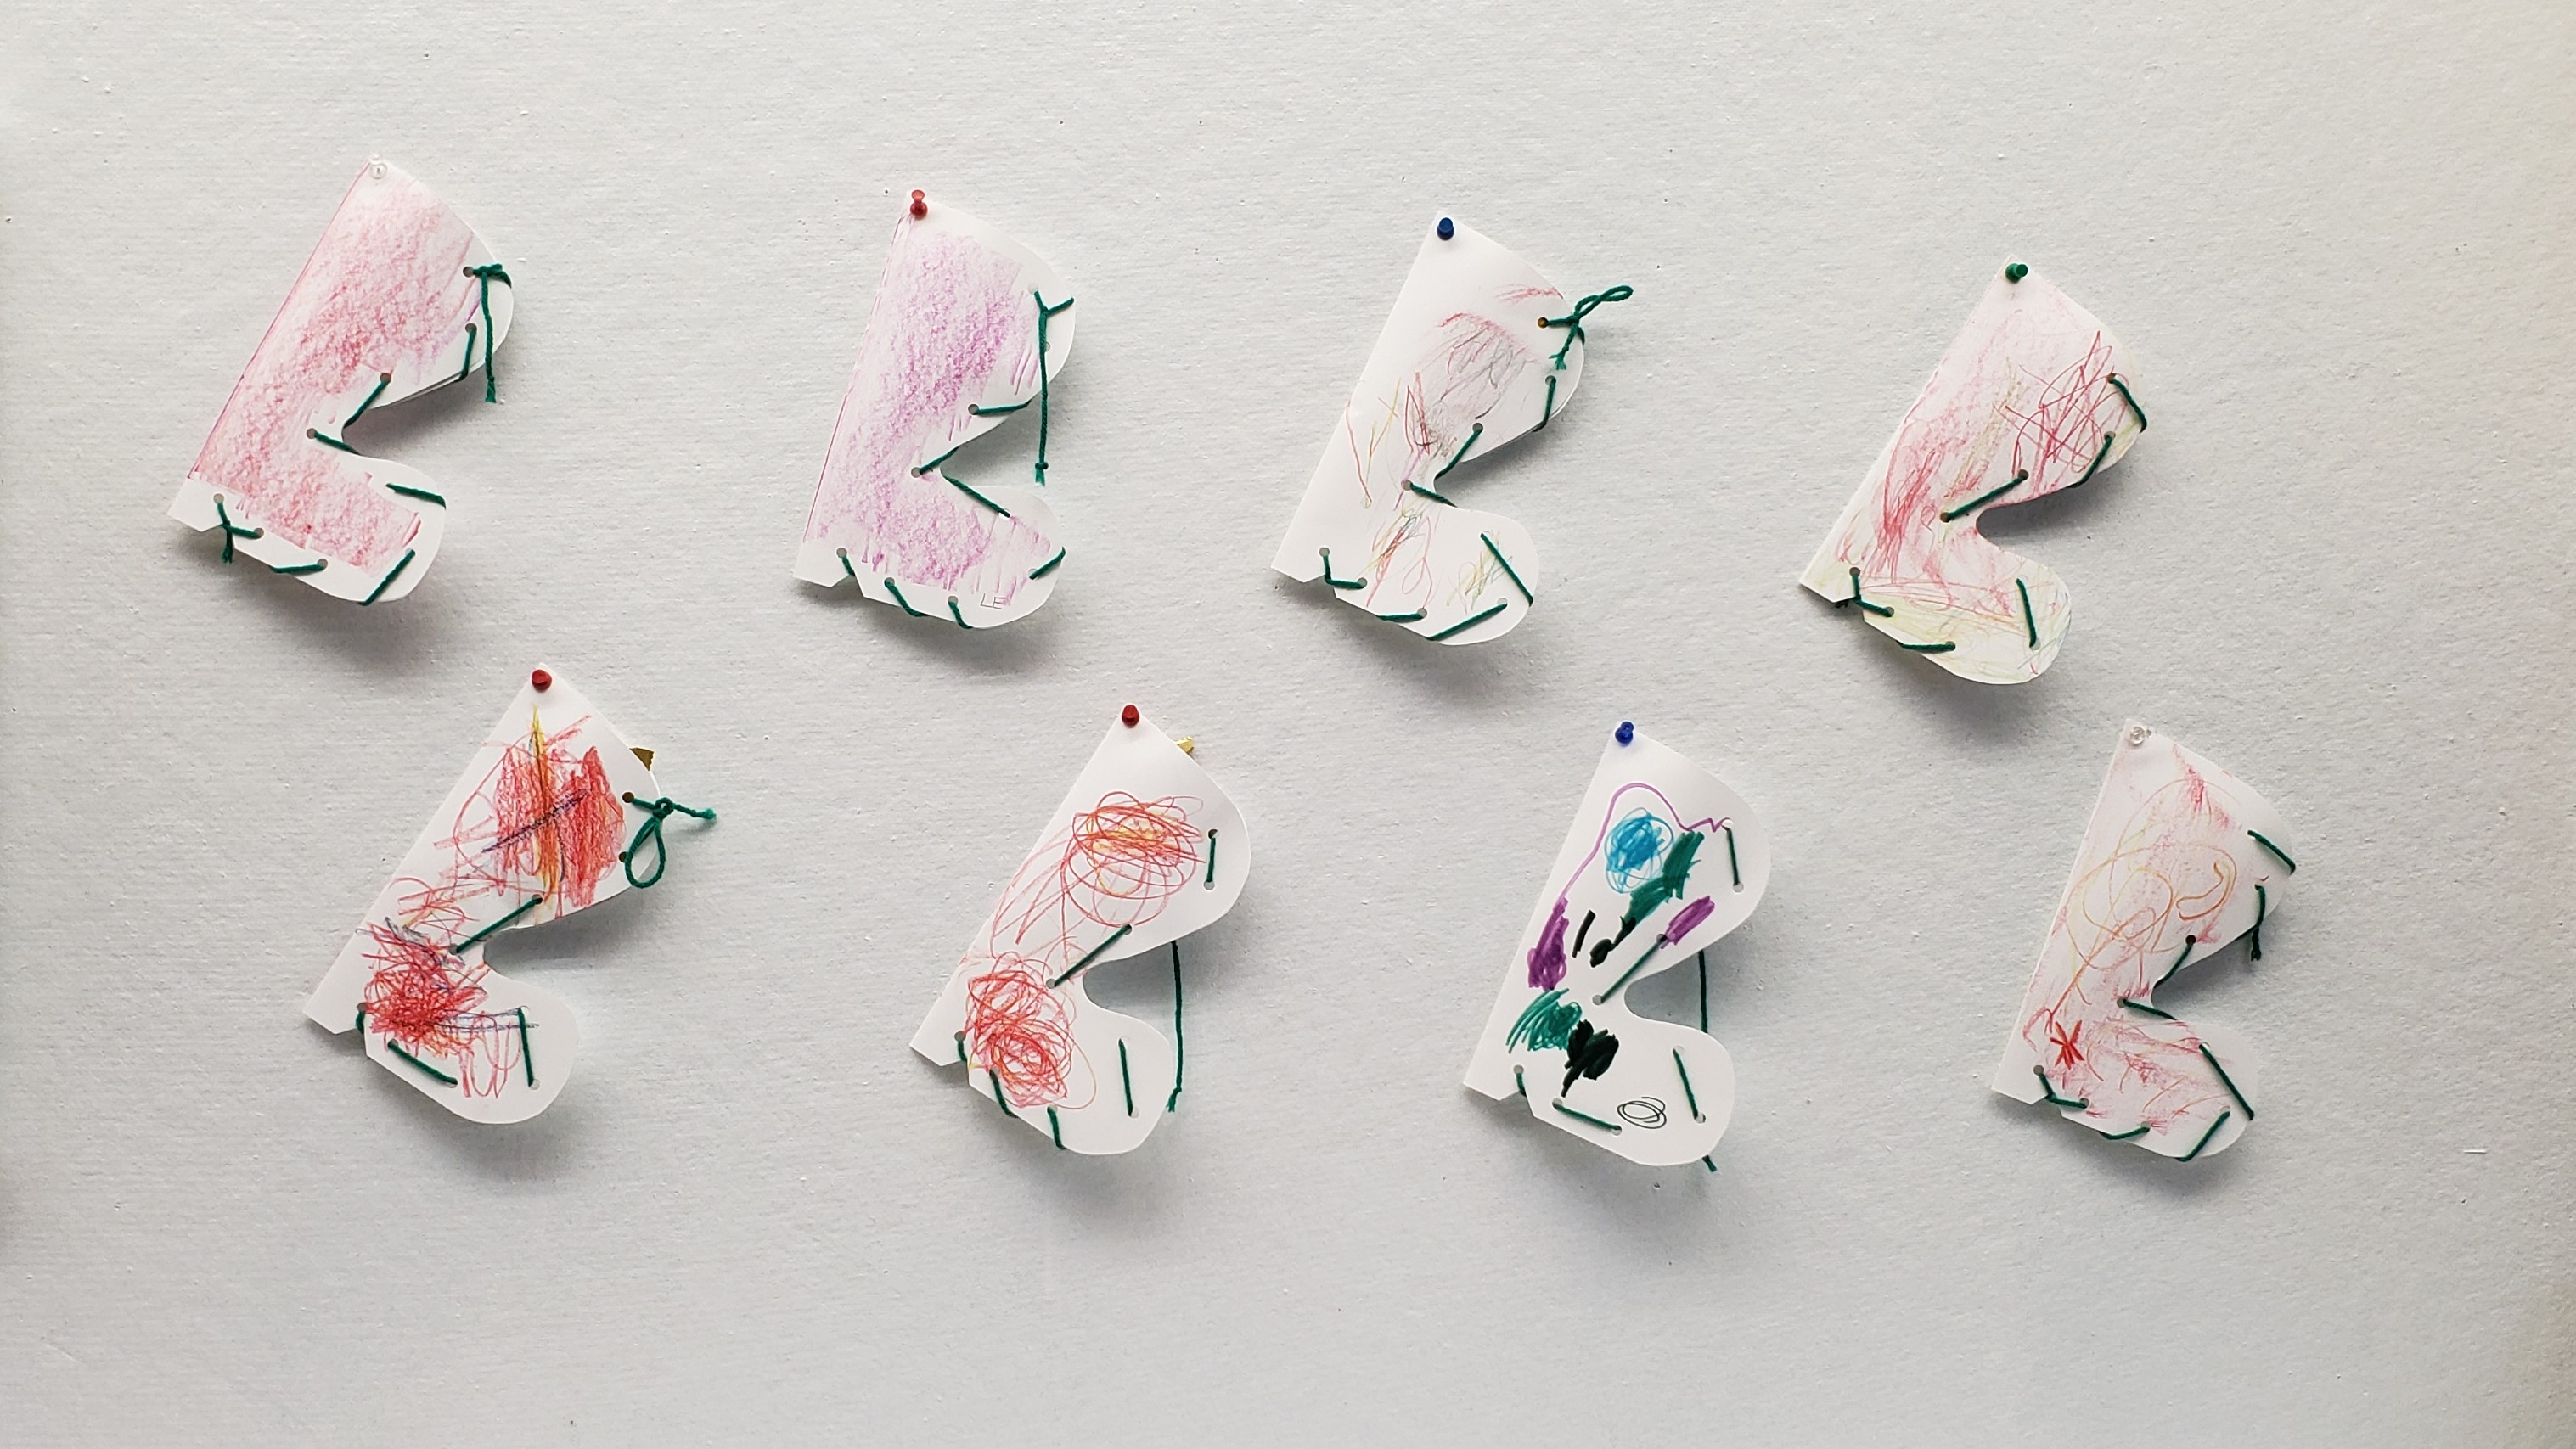
I absolutely love these little guys! They are all different, but they look amazing together or individually!

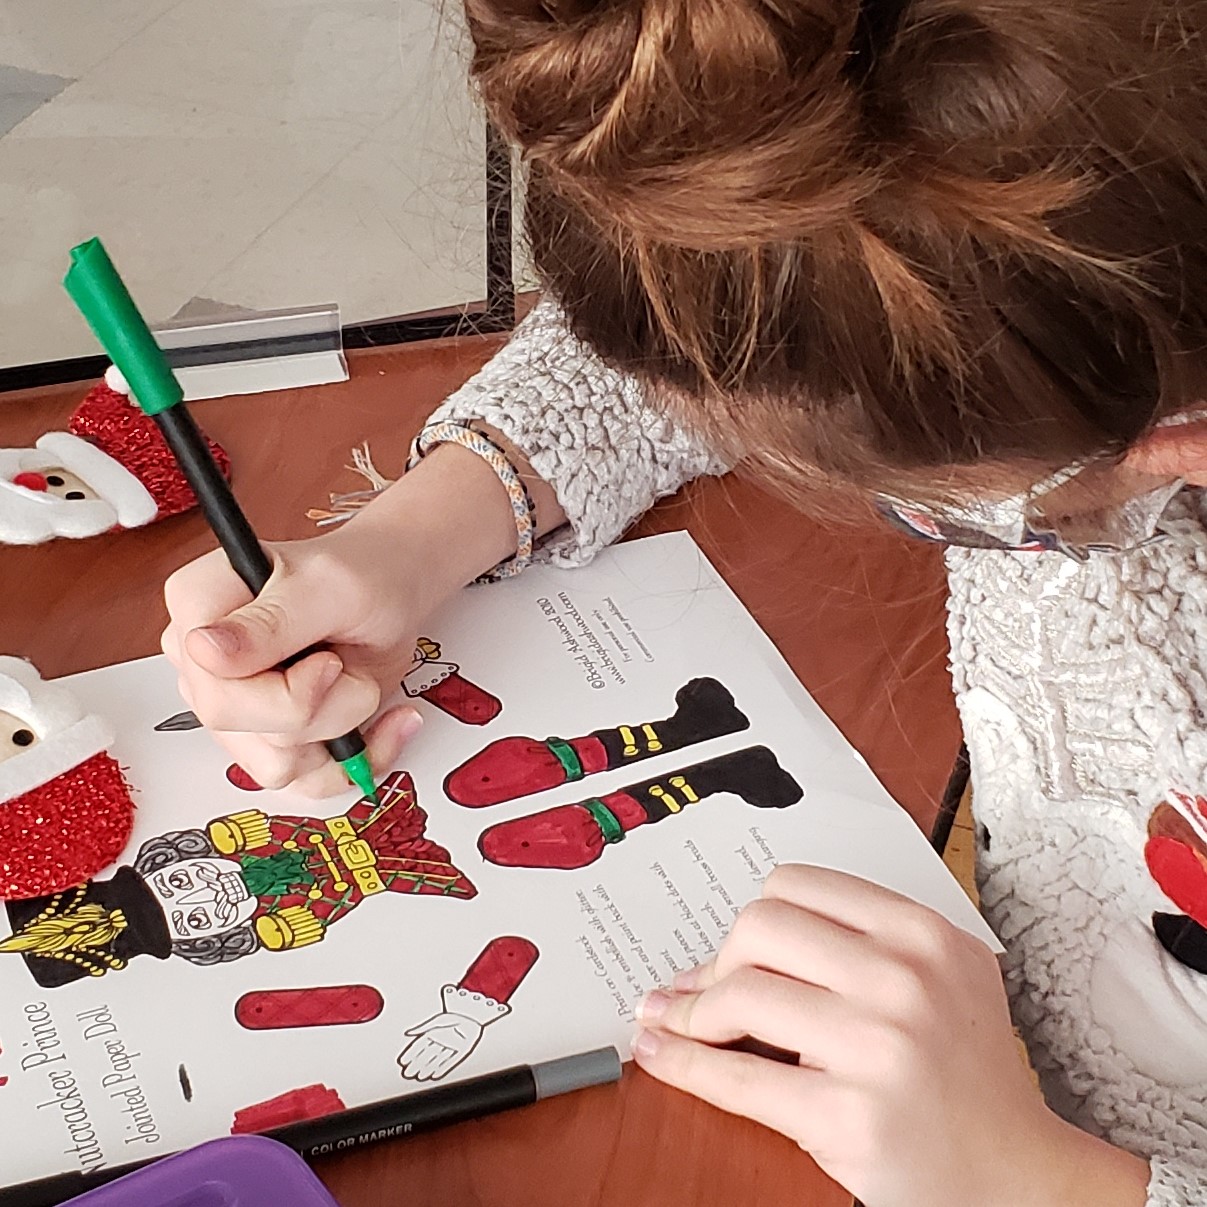
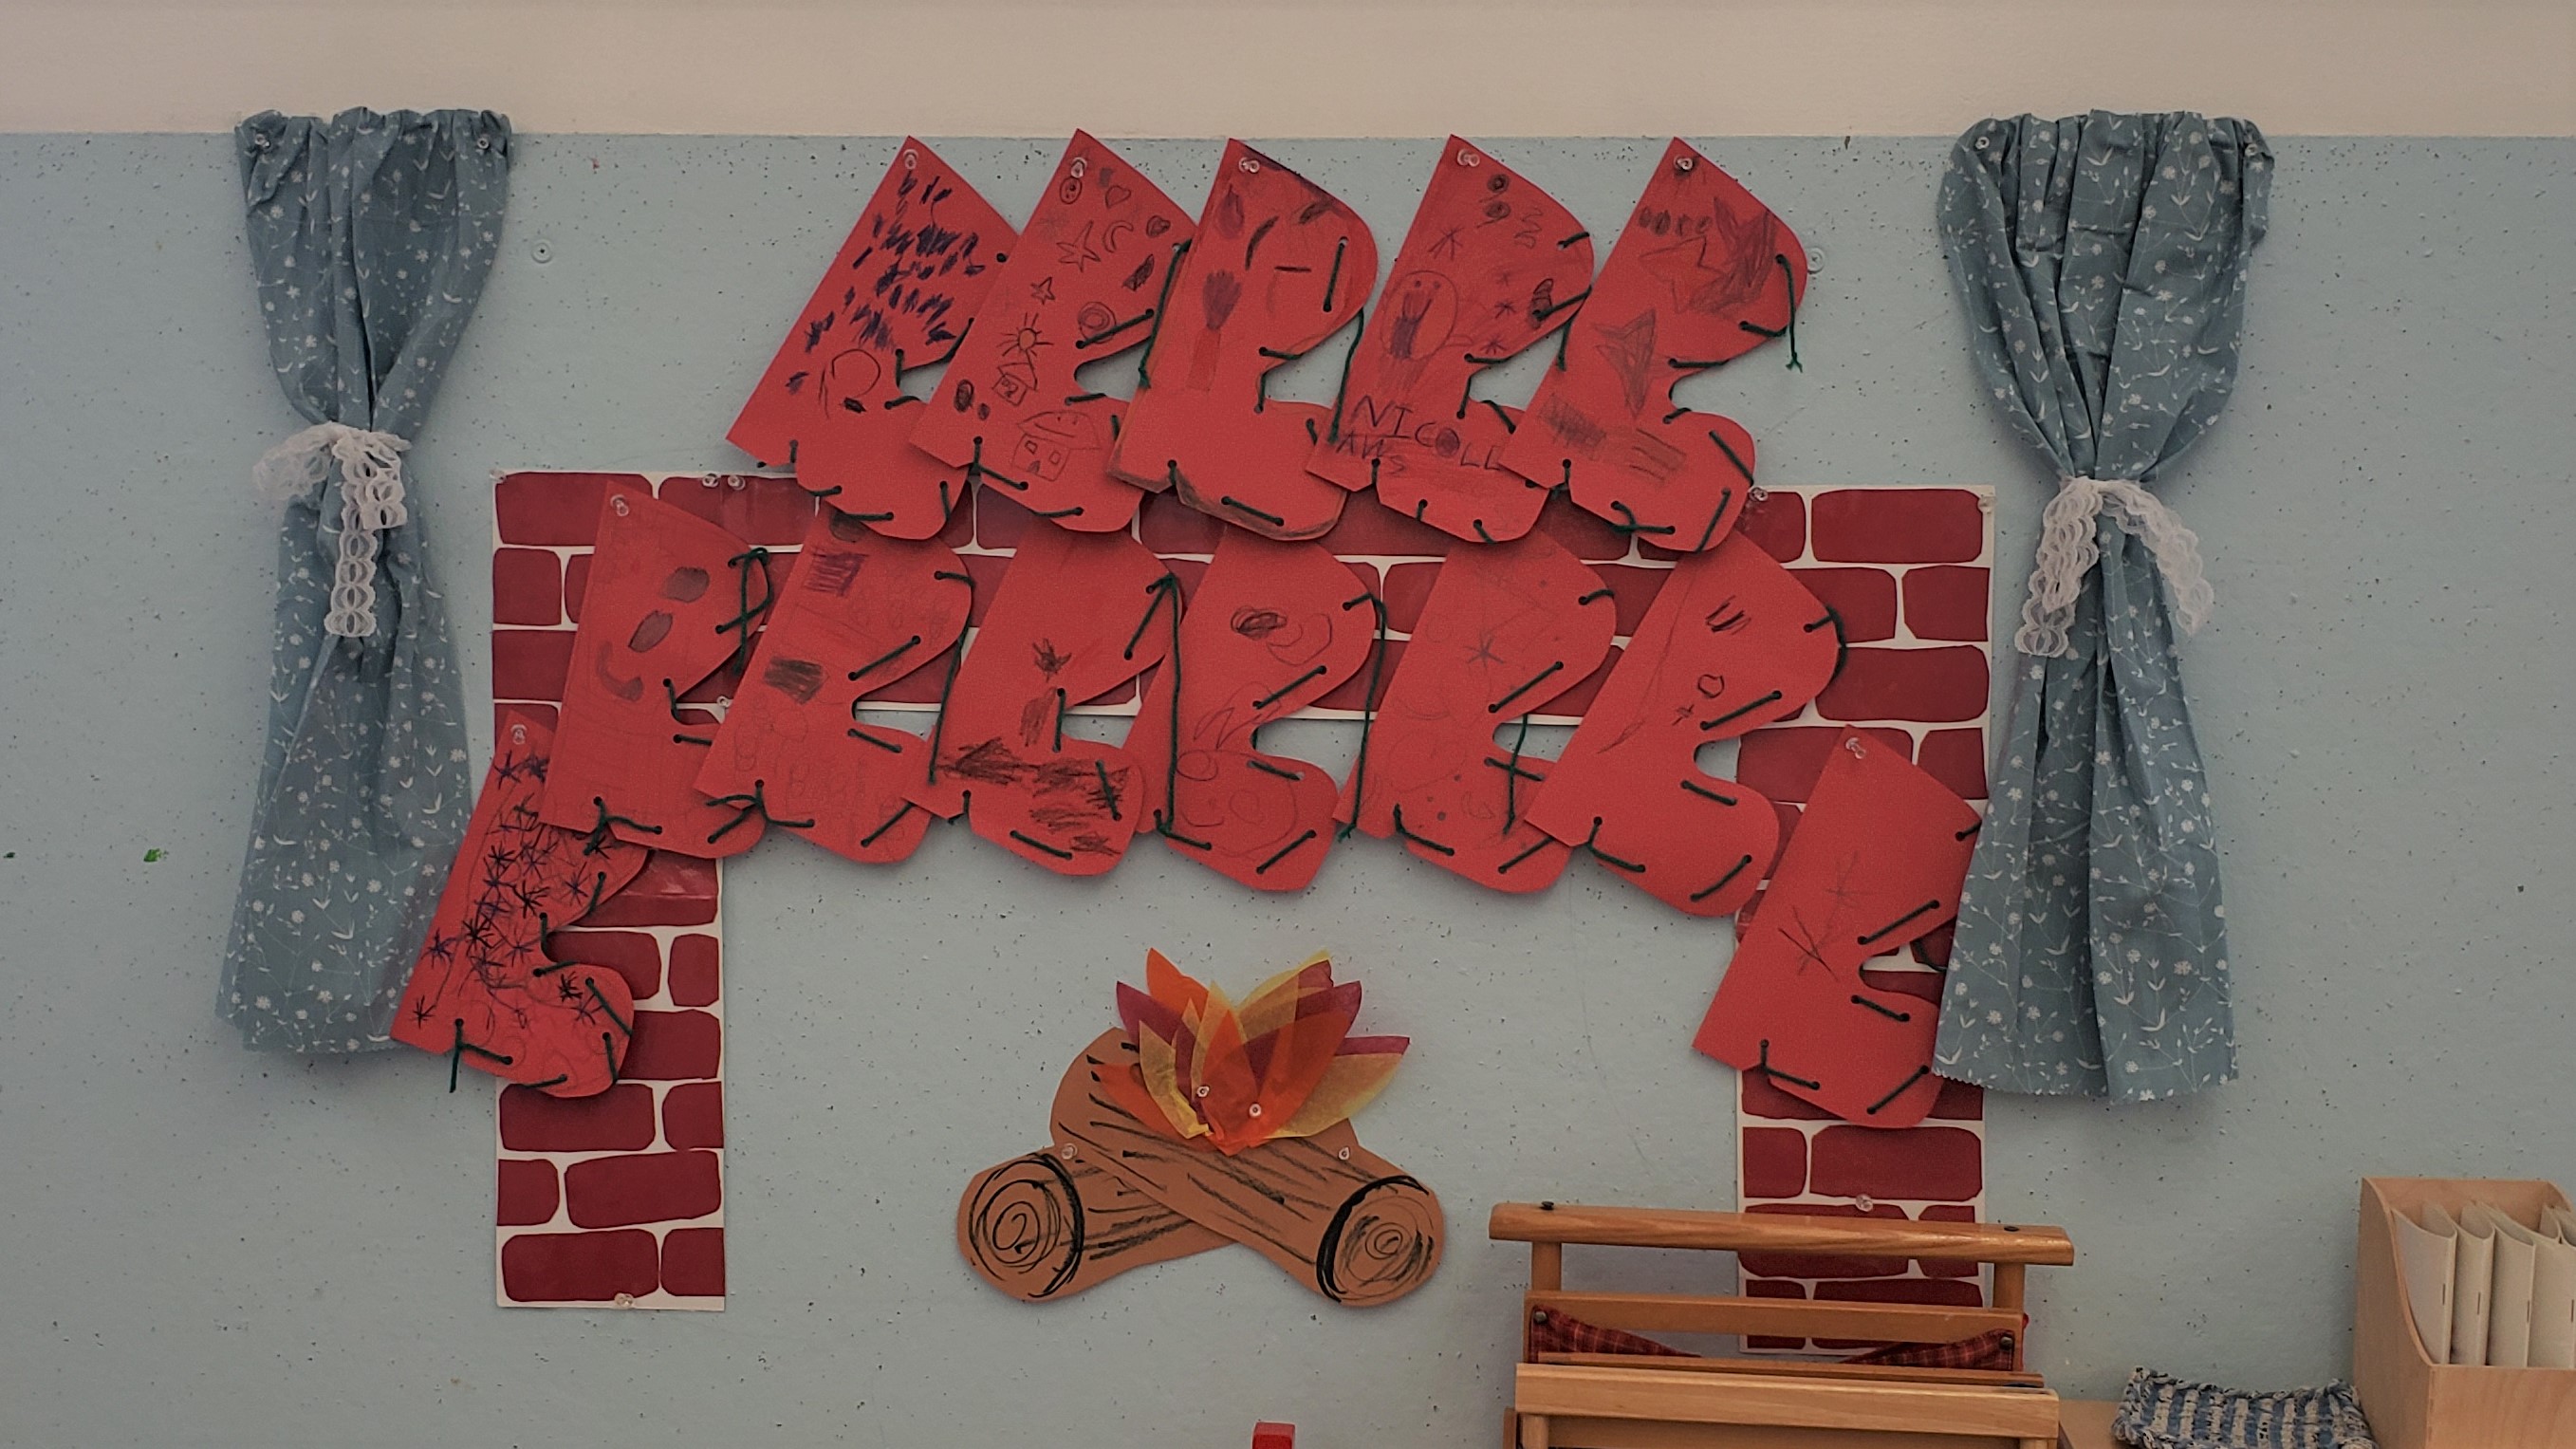
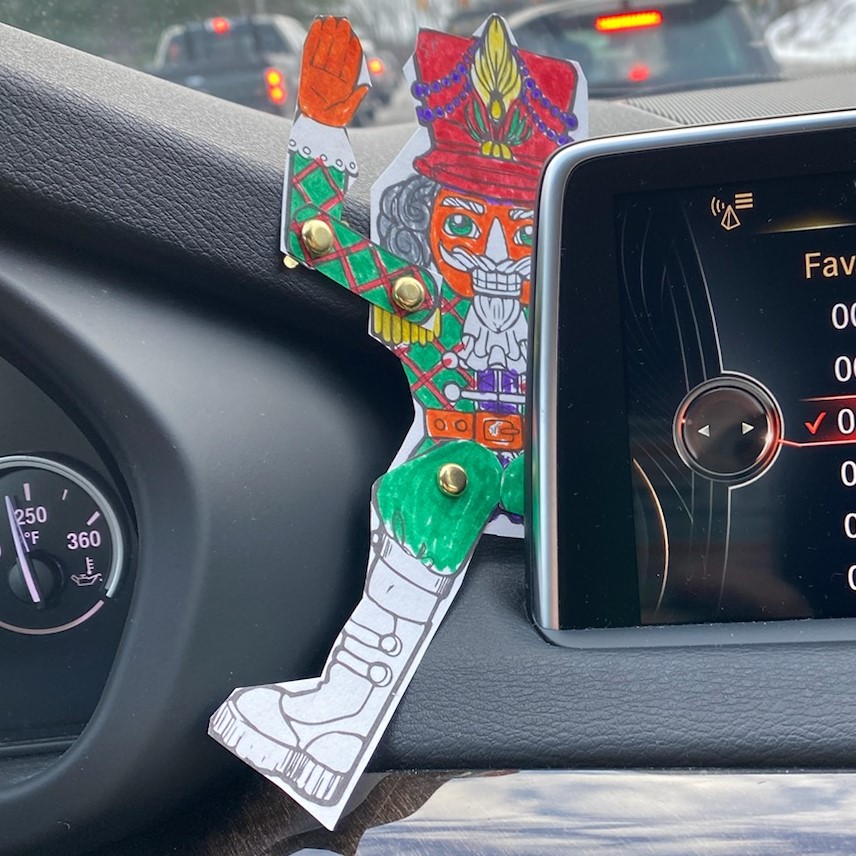
One thing I wish I’d done better was manage their time. The kids needed at least 10-15 minutes to cut out the nutcrackers. It’s petty detailed! In the end, I was running around trying to punch all the holes and hand out the fasteners, while the classroom teacher taped them to the board, so we could display them – even if just for a short time. We did of course let them take their beautiful nutcrackers home. Apparently one got to go for a ride, and another made it on to the Christmas tree! (See the pictures below!)

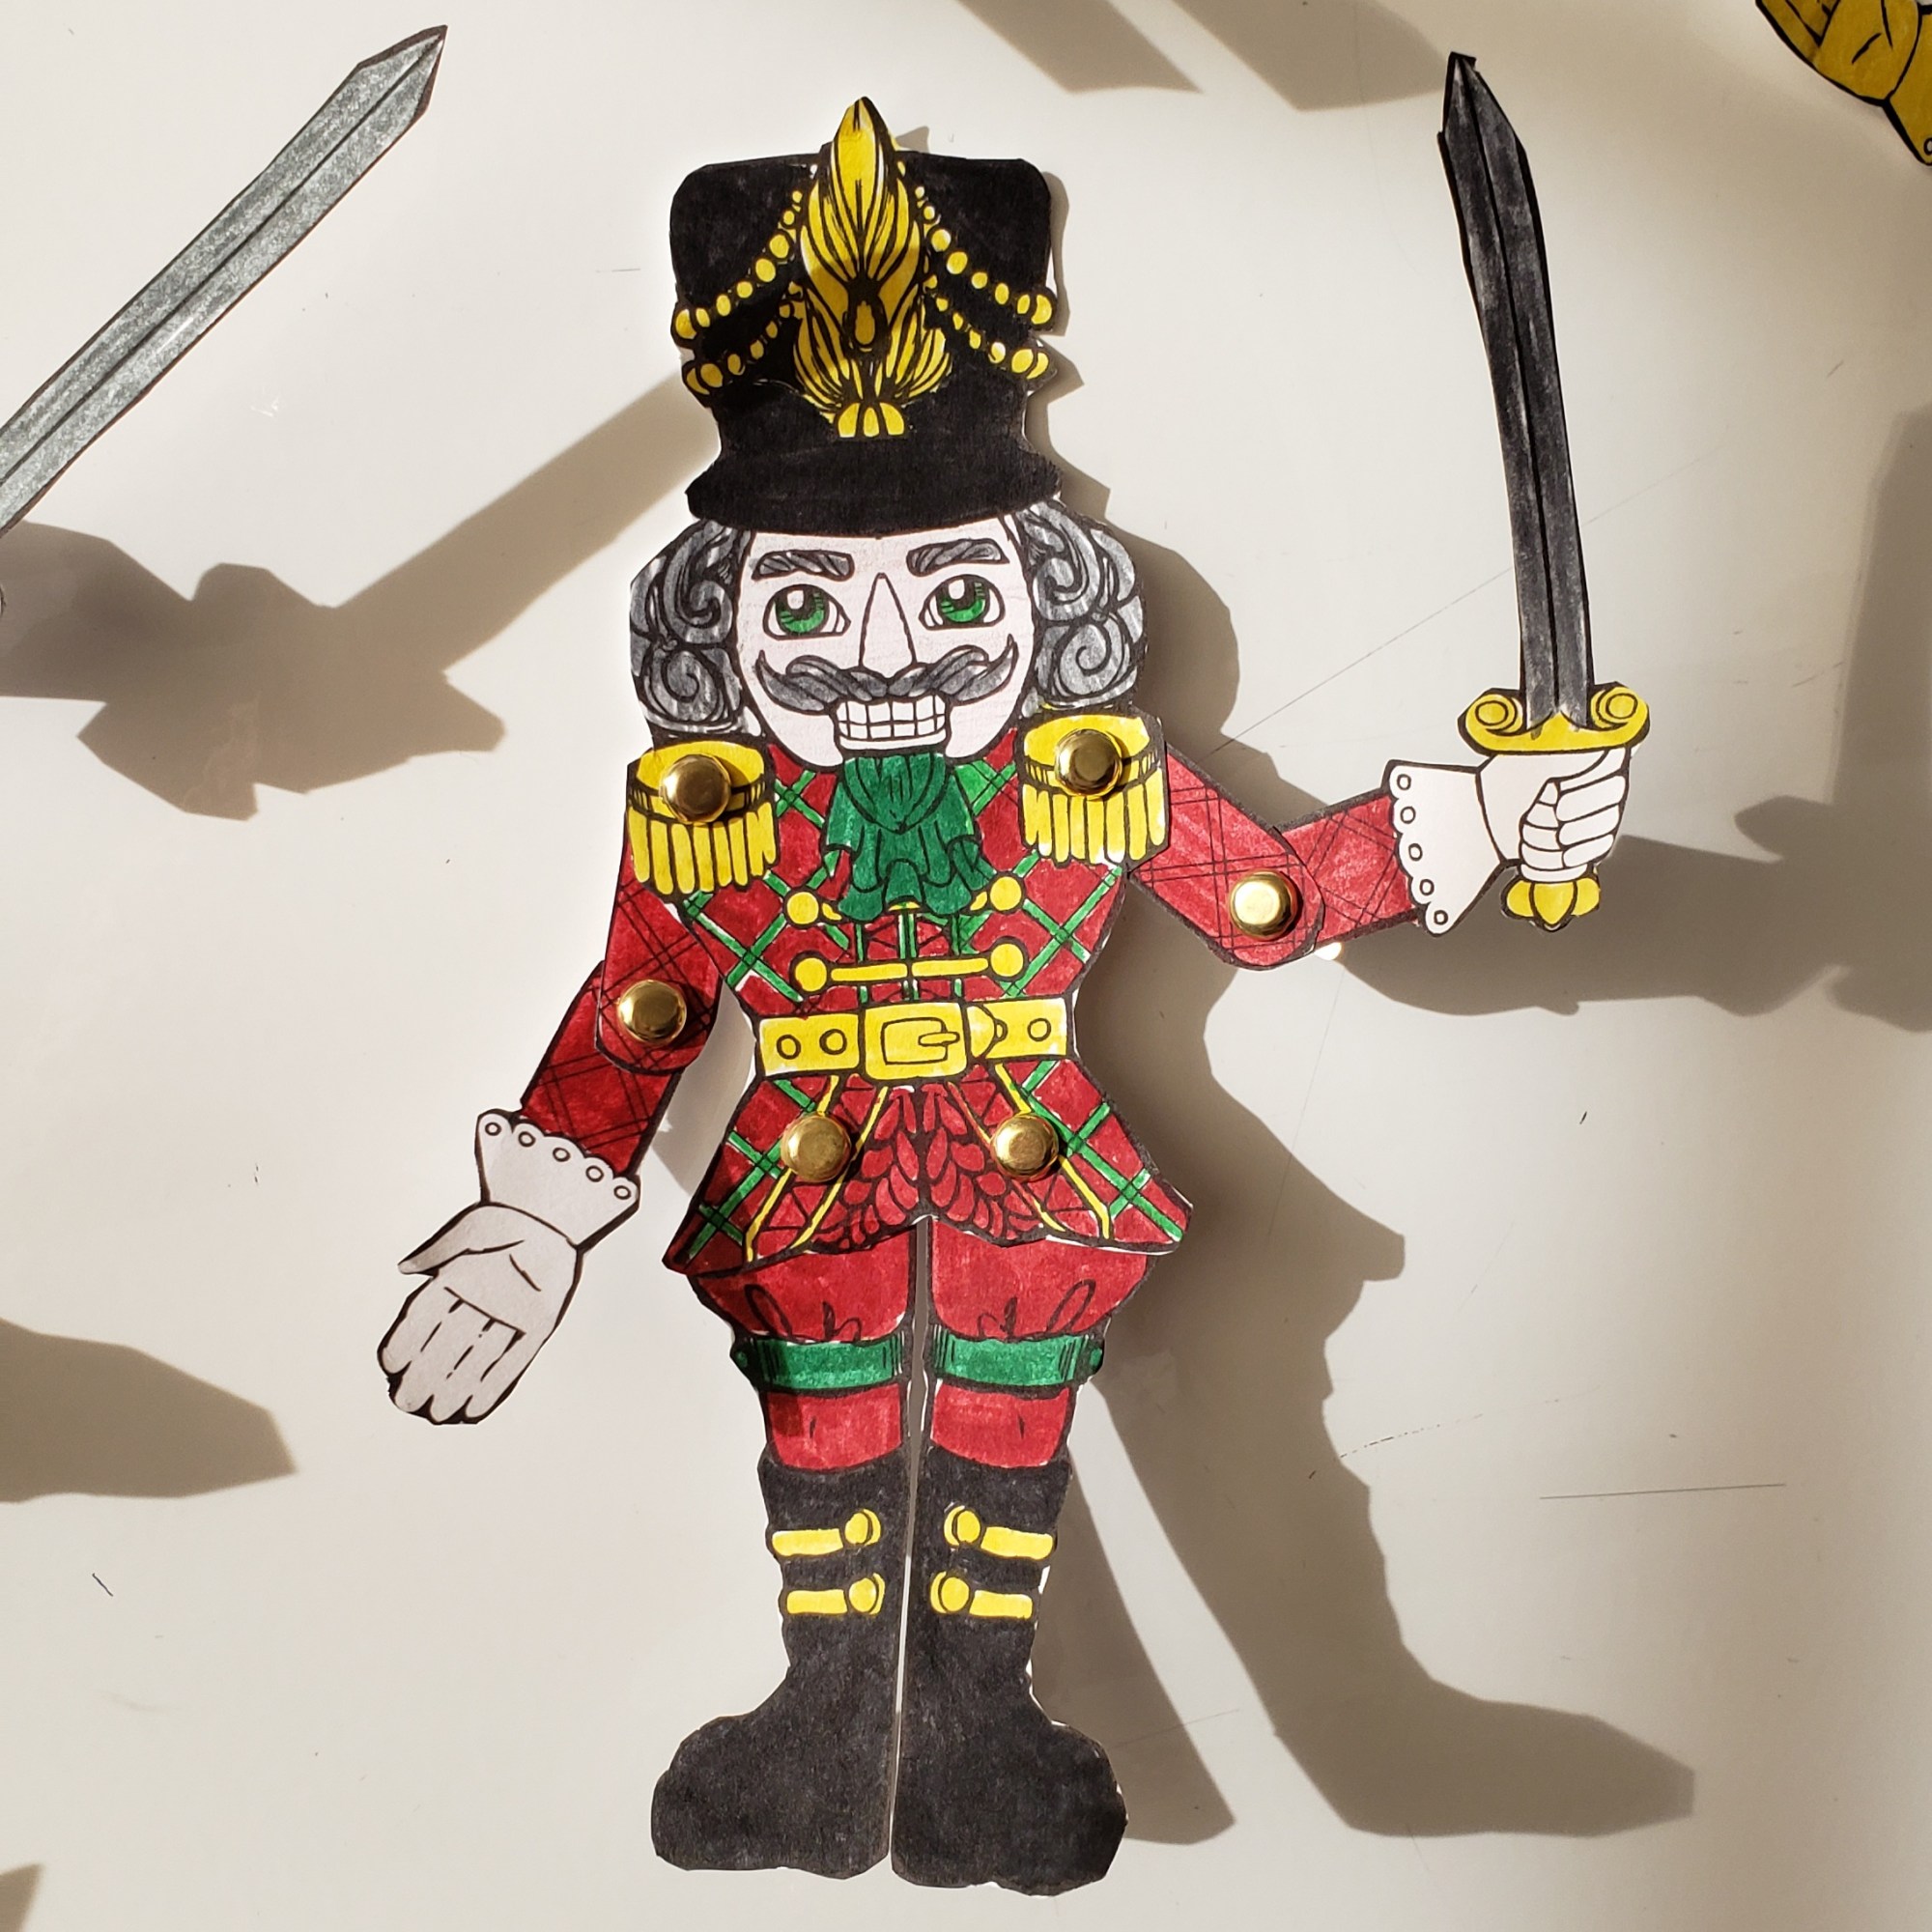
You can download the free template created by Brigid Ashwood.

Nussknacker / Nutcracker 2020 – Part 7

3rd & 4th Grade Nutcracker Art Project

The nutcracking fun continued! After completing a Nutcracker shape coloring activity in pre-k/kindergarten and a giant collaborative mural Nutcracker in 1st & 2nd grade, it was time for the 3rd & 4th grade class to take a crack at a project!

This group also heard the story of E.T.A. Hoffmann’s Nutcracker last week. So this week, these peaceful students colored a design printed on cardstock. Then we taped a feather (if they wanted) to come out of the “hat” and taped the paper to a toilet paper roll! Easy peasy! But so effective!

Aren’t they striking?! The children really did work so peacefully! I was pleasantly surprised, as it was the end of the day on the last day of school before winter break!

I found this simple craft at Sophie World. She has the template you can download for free (click the “Stats” tab to the right of “How to”.)

Stay tuned for the project that the 5th & 6th graders worked on!

Nussknacker / Nutcracker 2020 – Part 6

1st & 2nd Grade Nutcracker Art Project

Last week, I told the students the basic story of E.T.A. Hoffmann’s Nutcracker. And then we completed a Steckbrief about nutcrackers. So this week, they were all set to do their class Nutcracker Art Project!

Each of my German classes is doing a different project. In the morning, my pre-k/kindergarten classes colored a shape Nutcracker.

In 1st & 2nd grade, the children created a GIANT collaborative 4-foot Nutcracker! Each child completed a piece of the puzzle. Then I put it all together and went over the outline with black marker. And then I laminated the whole thing – it just barely fit! It is now hanging in all its glory in the hall of our school!

I am so thrilled! I let the children color their “puzzle pieces” however they wanted. I asked that they use marker and do their best coloring. Some went bold. Others went for designs and detail. The overall effect is stunning!

I found the template and instructions at Art Projects for Kids. I did have to pay for it, but it comes in different sizes, and I can use it again and again! (She has a lot of other materials that are free. Definitely worth a look!)

Stay tuned for projects in 3rd & 4th grade and 5th & 6th grade! (As long as we get back into school after this snowstorm!)

Klingelingeling! Jingle Bells

While we may not be singing in the classrooms right now, that doesn’t mean we can’t have music! I usually teach the children the song “Kling, Glöckchen, Klingelingeling” at this time of year. In the past few years, I have made little bells at home to give to the children, so they can play along as we sing. But this year, I decided to let them make the bells. And then we said the words Kling, Glöckchen, Klingelingeling.

To make the bells, you need:

  • 2 pipe cleaners in two different colors (we used red & white this year)
  • three bells

That’s it! I get my bells at the Dollar Store. You have to make sure you get bells that have a big enough “loop” or “handle” at the top, so the pipe cleaner can go through.

For instructions on how to make the bells, see this post!

After I taught the children how to say “Kling, Glöckchen, Klingelingeling” we clapped out the rhythm as we said it. Then I told them that we needed bells to ring instead of just clapping! So we made the bells. And then I showed them one of my favorite things: and Advent calendar from our Swiss au pair. Each day plays a different song!

We listened to the German song for Day 2, of course – Kling, Glöckchen, Klingelingeling! And we rang our bells in time and spoke the words we’d learned.

(This Advent calendar plays 48 beautiful songs – 24 German and 24 English! It uses only 3 AA batteries. And the melodies are lovely to listen to! You can find more about them here! No compensation for me – I just like them!)

The children enjoyed the music so much, that we listened to several other songs. “O Tannenbaum“, “Stille Nacht“, and “Jingle Bells”.

Here is a coloring page that goes with the song:

Frohe Weihnachten!

Nikolaus – in 5th & 6th Grade

Finally, I ended the week in 5th & 6th grade, telling the story of Nikolaus one last time. Of course, these kids have heard the story for several years and are very familiar with the tradition by now! But they still enjoy the story. I added more detail for this class, as they know the basic story well.

After we finished the story, we went back and picked out the cognates (those are underlined). For words that were close, but not close enough to be true cognates, we starred them.

Some of my students have been using their individual white boards to draw with me. One student let me capture her work:

For some students, drawing along can be distracting. But for those who find it helpful, I think it’s great!

Now, they also needed a boot for Nikolaus to fill over the weekend! I had them do the same craft that the 3rd & 4th graders did. I found small red paper bags at a craft store. Then I printed boots on white card stock and cut them out (one less thing for them to do, as we did not have a lot of time). I asked them to color the boots and then glue them to the paper bags.

They did a very colorful job! (I had them write their names in the “furry” part of the boot, so I marked those out.)

They also did the puzzle of Das ist das Haus vom Nikolaus. It was fun to see how different people solved the puzzle! There are indeed 44 different ways to solve it!

You can find the free download and solutions in this post.

Nikolaus – in 3rd & 4th Grade

Today the Nikolaus celebration continued with my older students. As always, I started the class with the story. Again, it was the legend of Nikolaus and the Three Daughters. But not as simple as the version I told in 1st & 2nd grade.

It amazes me that they enjoy the story year after year! Most of these students have heard the story two or three times now.

Of course, the 3rd & 4th graders needed a boot, too. But I thought they might be a bit older for lacing 🙂 So I found little red paper bags at the craft store. Then I printed and cut out some boots on white card stock. (The image is copyrighted, so I can’t share it, but this picture gives you an idea – I fit 3 on a page.)

I had also told Puss in Boots to these students a couple of weeks ago, so I again challenged them to create the most magnificent boots. They colored them in and then glued them to the front of the little bags.

I didn’t get a picture of their work, but I’m hoping the teachers will take a picture for me on Monday! Meanwhile, you can see the post on 5th & 6th grade to see how the project turned out.

As the kids finished up their boots, I had a fun little activity for them. The puzzle is to make a house with 8 lines without lifting your pencil.

There are 44 ways to solve the puzzle! You can download the worksheet and see the solutions in this post!

Nikolaus – in Pre-K / Kindergarten

Today is the first of December. So it’s time to get ready for Nikolaus!

In pre-k/kindergarten, I shocked the students when I told them that children all over Germany, Austria & Switzerland were getting SOOOOO excited … to clean their boots!! What?! Oh, yes! Those boots must be cleaned before leaving one out for Nikolaus on the evening of December 5th. On the morning of the 6th, children will rush to their boots to see what he left – nuts? mandarins? chocolates? a little present??

As Nikolaus knows that the children of our school are learning German, he usually makes an extra stop to leave a small treat for the children. But he needs a place to put them, right?!

So the children make a boot that can be hung in the classroom. This year they made red boots with green yarn to lace them up. They colored on the front of the boot to give it some extra design.

To make the boots, first download this free template:

  1. Trace the boot template onto a piece of folded construction paper.
  2. Cut out the boot and punch holes where the black dots are.
  3. Let the children color the boot.
  4. Cut a length of yarn. Tie one end to the bottom of the boot. Tie a knot in the other end (this acts like the “needle” as it helps the child thread the yarn through the holes).
  5. Let the children lace up the boot. The can go in and out from front to back & back to front. Or they can keep looping around to the front. There is no wrong way to do it! Just so long as they go into each hole in order.
  6. Finally, tie the top end off at the back. Wunderbar!

The end result is so sweet! In the different classes, the teachers hung up the boots, so that Nikolaus can easily fill him when he visits in the night of December 5th.

Even our youngest preschoolers participated in the boot-lacing project this year!

Lebkuchenherz basteln / Gingerbread heart craft

I wanted to offer my students a craft that they could do at home, no matter what kinds of craft supplies they have. But of course it had to be something German, too! So I thought about making a gingerbread heart out of paper. The kids can decorate it with whatever they have at home. Maybe they will even give it to someone special!

I always think of gingerbread hearts at Christmas markets. All those colorful, decorated hearts hanging from one of the stalls! And what a treat when someone gives you one with a special message!

Aachener Weihnachtsmarkt, 2019

Here is a link to the video instructions:

You can download the free PDF with bilingual instructions as well as templates. There are two heart templates. One has decoration on it, and one is plain.